반응형
구현
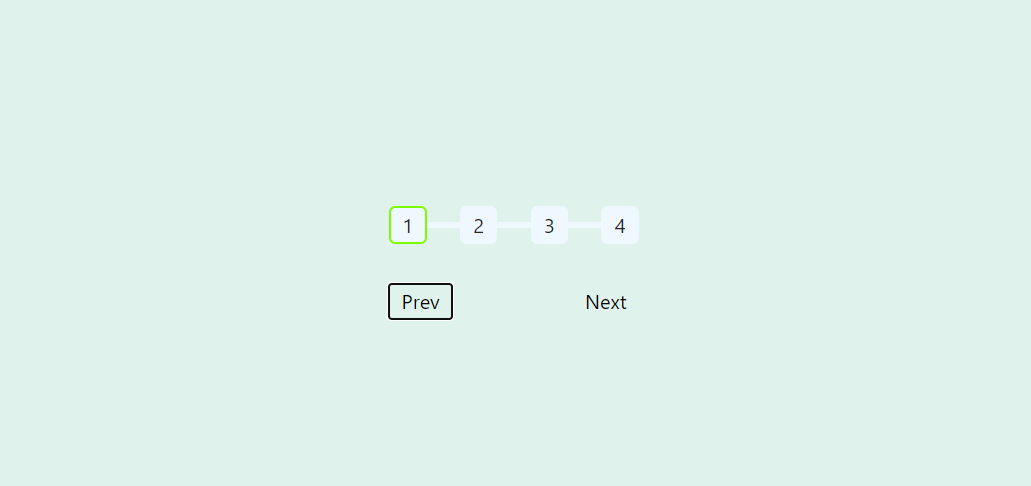
먼저 HTML에 필요한 만큼 단계를 지정합니다. 해당 애플리케이션에서 다음단계 또는 이전단계로 이동은 버튼을 사용했습니다.
<!-- index.html -->

<!DOCTYPE html>
<html lang="en">

<head>
  <meta charset="UTF-8" />
  <meta http-equiv="X-UA-Compatible" content="IE=edge" />
  <meta name="viewport" content="width=device-width, initial-scale=1.0" />
  <title>Document</title>

  <!-- custom style -->
  <link rel="stylesheet" href="main.css" />
  <script defer src="index.js"></script>
</head>

<body>
  <div class="box">
    <div class="steps one">1</div>
    <div class="steps two">2</div>
    <div class="steps three">3</div>
    <div class="steps four">4</div>
    <div class="line"></div>
    <button class="control prev">Prev</button>
    <button class="control next">Next</button>
  </div>
</body>

</html>
아래와 같이 스타일을 지정합니다. 단계를 표시할 선은 바탕선이 될 요소와 단계진행에 따라 채워질 선을 표현할 요소 두 가지가 필요한데 '::before'를 사용해서 바탕선을 표시했습니다. '::before'의 경우 JS에서 사용할 수 없으므로 채워질 선으로 사용하기에는 적합하지 않습니다.
/* main.css */

* {
  margin: 0;
  padding: 0;
  box-sizing: border-box;
}

body {
  height: 100vh;
  display: flex;
  background-color: rgb(224, 242, 236);
  align-items: center;
  justify-content: center;
}

.box {
  height: 150px;
  width: 200px;
  position: relative;
  /* background-color: rgb(158, 158, 231); */
  display: flex;
  align-items: center;
  justify-content: space-between;
}

.steps {
  height: 30px;
  width: 30px;
  display: flex;
  align-items: center;
  justify-content: center;
  border-radius: 5px;
  border: 2px solid aliceblue;
  background-color: aliceblue;
  z-index: 2;
  transition: .4s ease;
}

.steps:first-child {
  border-color: lawngreen;
}

.steps.checked {
  border: 2px solid lawngreen;
}

.line {
  position: absolute;
  top: 50%;
  transform: translateY(-50%);
  height: 5px;
  width: 0%;
  background-color: lawngreen;
  z-index: 1;
  transition: .4s ease;
}

.box::before {
  content: '';
  position: absolute;
  left: 0;
  height: 5px;
  width: 100%;
  background-color: aliceblue;
  z-index: 0;
}

.control {
  position: absolute;
  bottom: 0;
}

.next {
  right: 0;
}

button {
  padding: 2px 10px;
  border: none;
  background-color: transparent;
}
마지막으로 동적요소를 추가하면 되는데요. 자바스크립트에서 다음 또는 이전단계 버튼이 클릭될 때 인덱스를 증가/감소하고 해당 인덱스를 바탕선의 길이를 단계 수로 나눈 값에 곱하는 방식으로 구현하였습니다.
// index.js

const btnPrev = document.querySelector('.prev')
const btnNext = document.querySelector('.next')
const box = document.querySelector('.box')
const line = document.querySelector('.line')
const steps = document.querySelectorAll('.steps')

let idx = 1
btnPrev.addEventListener('click', () => {
  idx--
  if (idx < 1) idx = 1
  checkSteps()
})

btnNext.addEventListener('click', () => {
  idx++
  if (idx > 4) idx = 4
  checkSteps()
})

function checkSteps() {
  clearSteps()
  fillLine()
  for (let i = 0; i < idx; i++) {
    steps[i].style.borderColor = 'lawngreen'
  }
}

function clearSteps() {
  steps.forEach((step) => {
    step.style.borderColor = 'aliceblue'
  })
}

function fillLine() {
  let step = +getComputedStyle(box).width.split('px')[0] / (steps.length - 1)
  line.style.width = `${step * (idx - 1)}px`
}
이상으로 바닐라 자바스크립트를 활용하여 컴포넌트를 만들어 보았습니다.
프로젝트 출처
Traversy Media
Traversy Media features the best online web development and programming tutorials for all of the latest web technologies from the building blocks of HTML, CSS & JavaScript to frontend frameworks like React and Vue to backend technologies like Node.js, Pyth
www.youtube.com
728x90
반응형
'프론트엔드 > 자바스크립트' 카테고리의 다른 글
| 자바스크립트 컴포넌트 - 사이드 메뉴 (2) | 2023.02.13 |
|---|---|
| 엔피엠 (0) | 2023.02.01 |
| 자바스크립트 컴포넌트 - 고무고무 카드 (0) | 2023.01.28 |
| 프로젝트 - 퐁 (0) | 2023.01.21 |
| 데이터 타입 - Blob (0) | 2023.01.08 |


