
After creating an application we need to deploy the app for the world to see. In this post, we will see how we can deploy a .NET & Angular application to a Linux server using Digital Ocean cloud service.
List of Contents
Preparations
.NET
Static Files
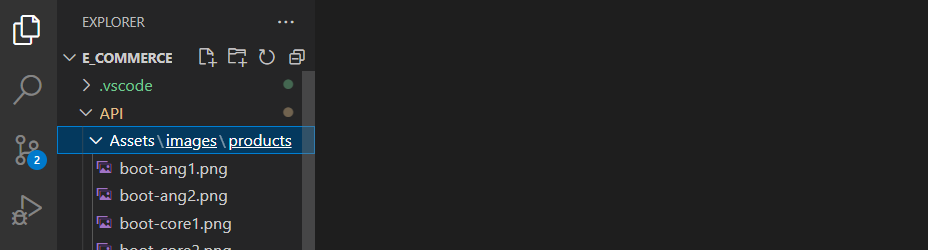
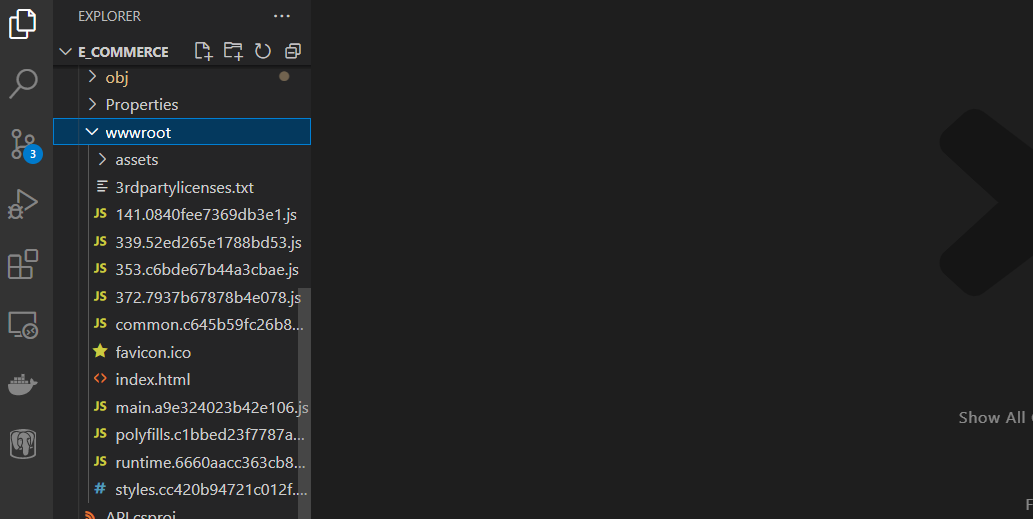
The wwwroot folder that we are going to use to hold the frontend project is also the folder default static files folder for dot NET. When building the frontend folder it will override everything in the wwwroot folder instead of adding to it. So we need to create a new folder for the static files (This means if you plan not to use static files on your backend, you can omit this process).
Create a new folder and move everything from the wwwroot to the new folder.
Go to Program.cs and add the code below under the middleware for using the static files.
app.UseStaticFiles(new StaticFileOptions
{
  FileProvider = new PhysicalFileProvider(Path.Combine(Directory.GetCurrentDirectory(), "Assets")),
  RequestPath = "/Assets"
});
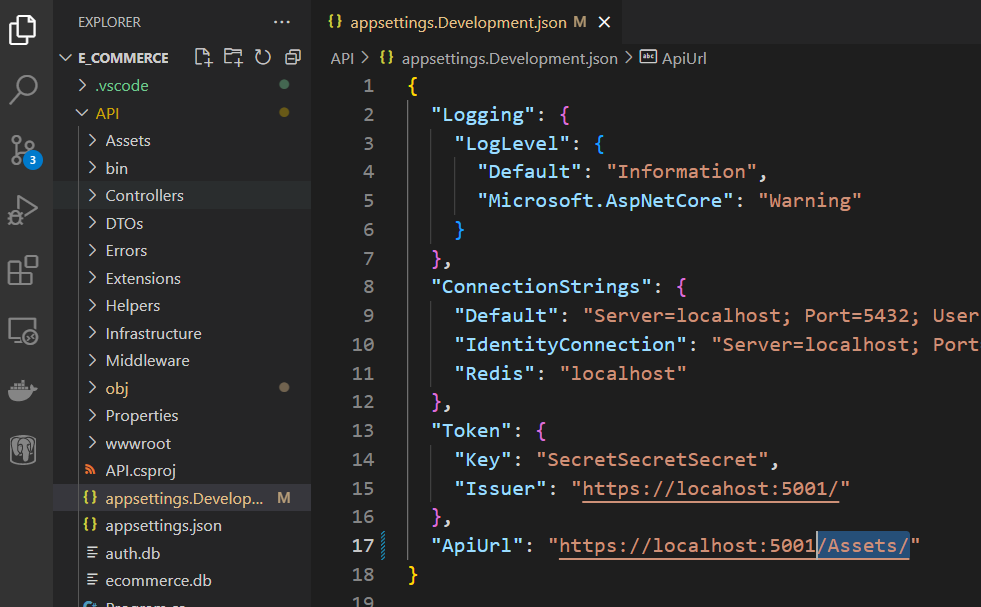
If any of the code in your project such as in the appsettings is using the old path, update them.
Note that when we build a .NET project later, any folder that is not specified in the code or by .NET will be ignored.
To include them in the publish folder, add the code below under the item group of the API .csproj file.
<Content Include="<folderName>\**" CopyToPublishDirectory="PreserveNewest" />
Seed Data
Likewise, for the seed data to be included, add the code below under the item group of the .csproj file of the project in which the data seeding class resides.
<None Include="<path>\**" CopyToOutputDirectory="PreserveNewest" />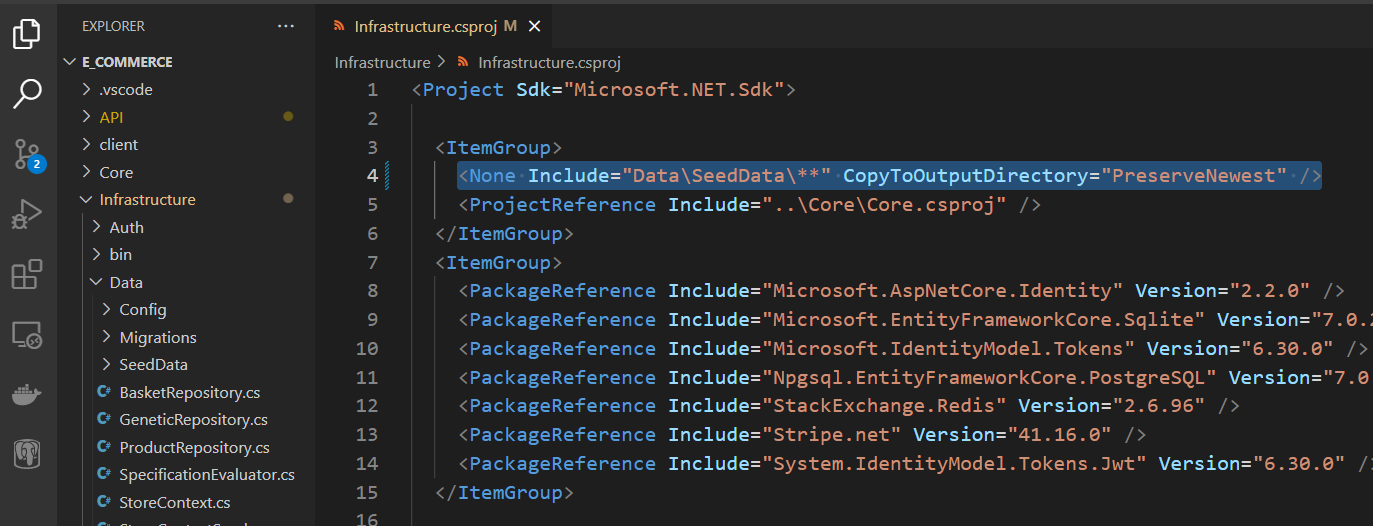
Change the path in the data seeding class for it to work for both local and global environments.
var path = Path.GetDirectoryName(Assembly.GetExecutingAssembly().Location);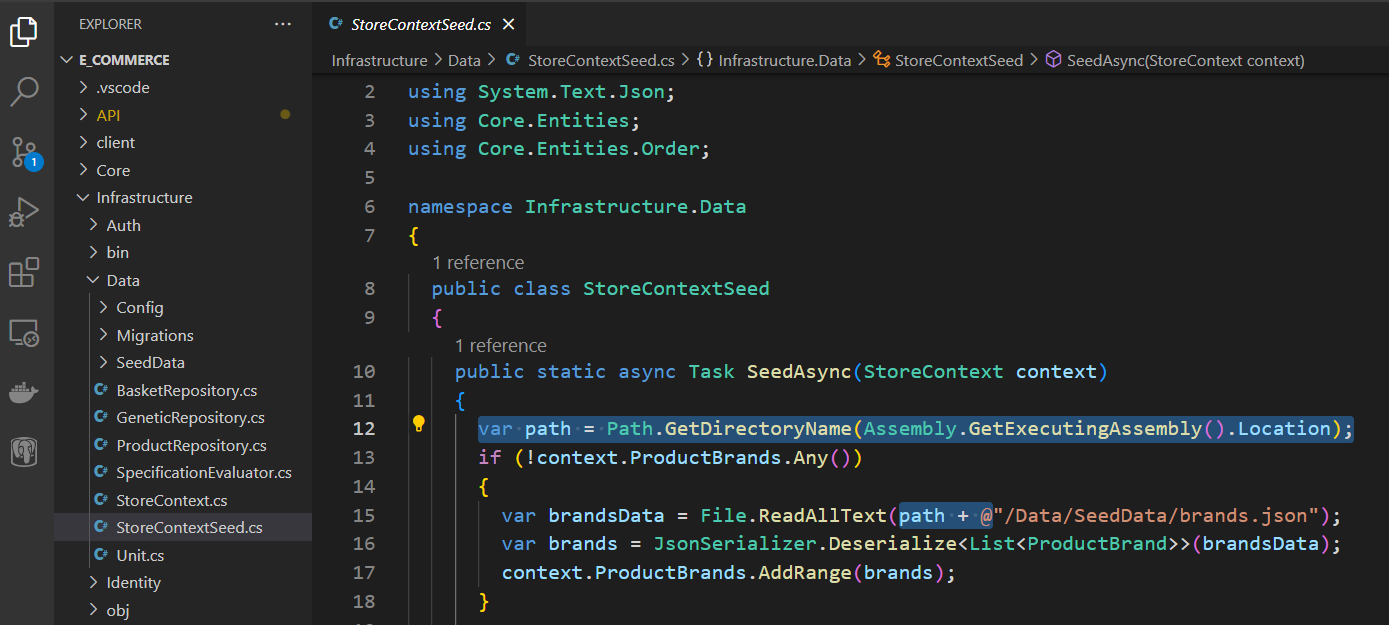
Adding an Endpoint for Frontend Path
Servers, by default, are not aware of the paths on the front-end side. So we have to do some configuration for a server to work with front-end paths.
Add a controller to deal with the front-end path. Inherit from 'Controller' and add methods.
public IActionResult Index()
{
  return PhysicalFile(Path.Combine(Directory.GetCurrentDirectory(), "wwwroot", "index.html"), "text/HTML");
}
Go to Program.cs and register the controller as a fallback.
app.MapFallbackToController("<ActionName>", "<ControllerName>");
Angular
Go to angular.json and change the output path to wwwroot in the backend.


Open the console and run the command below in the front-end project to build the application
ng build
You will see the built application in the .NET wwwroot folder. After this, you can open the front-end application by simply running the back-end application.
.NET Build
In the root of the project, run the command below to create a published version
dotnet publish -c Release -o publish <solutionName>.sln

Linux
Digital Ocean
We need a server to run the Linux, Digital ocean is a cloud server and is free for 60 days when join.
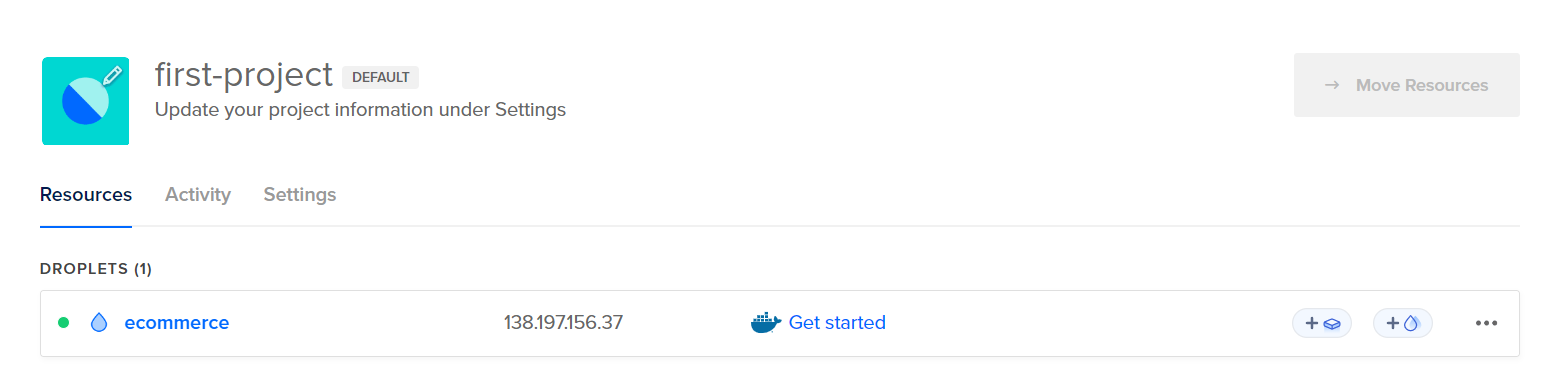
Go to Digital Ocean -> Create an account -> Create -> Droplets

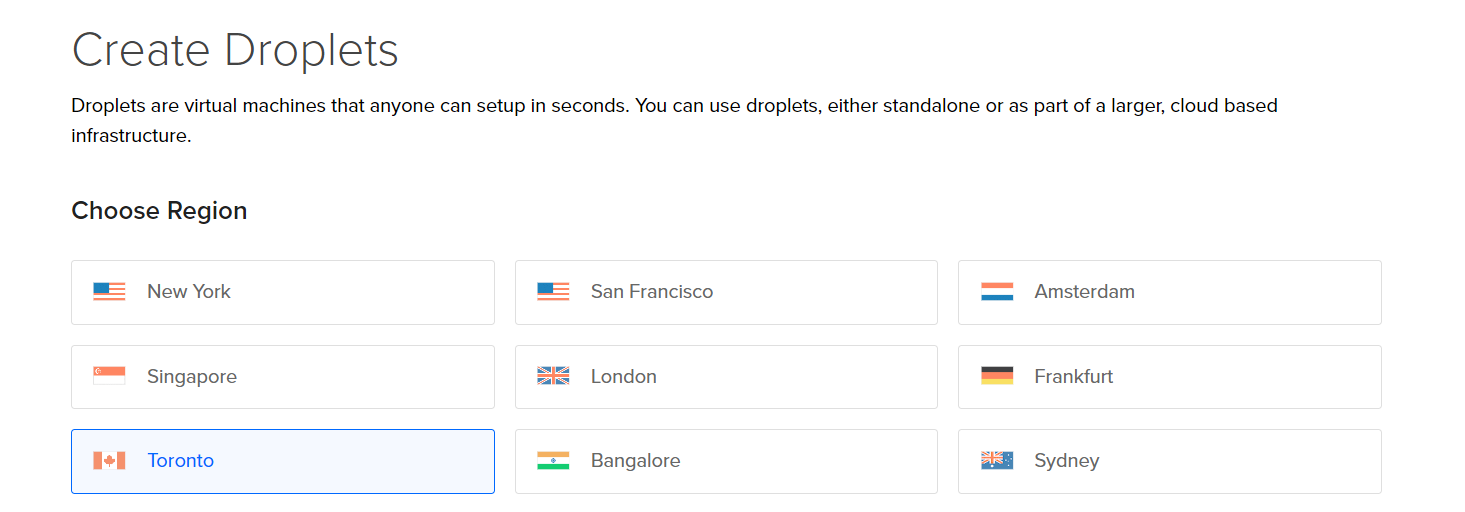
Choose Region
Market place -> choose docker/ubuntu

Select a CPU option

Choose authentication method

Enter the hostname and click create

Click get started
Copy the highlighted part

Linux Server Set Up
Droplet Log In
Open Comman or Powershell (for Windows) depending on your OS and run the command we just copied.

Select 'yes' and enter the password (if it does not show automatically run the command above again)

Adding Docker
We need to set up a configuration file for docker, and open the nano editor with the command below (right-click to paste).
sudo nano docker-compose.yml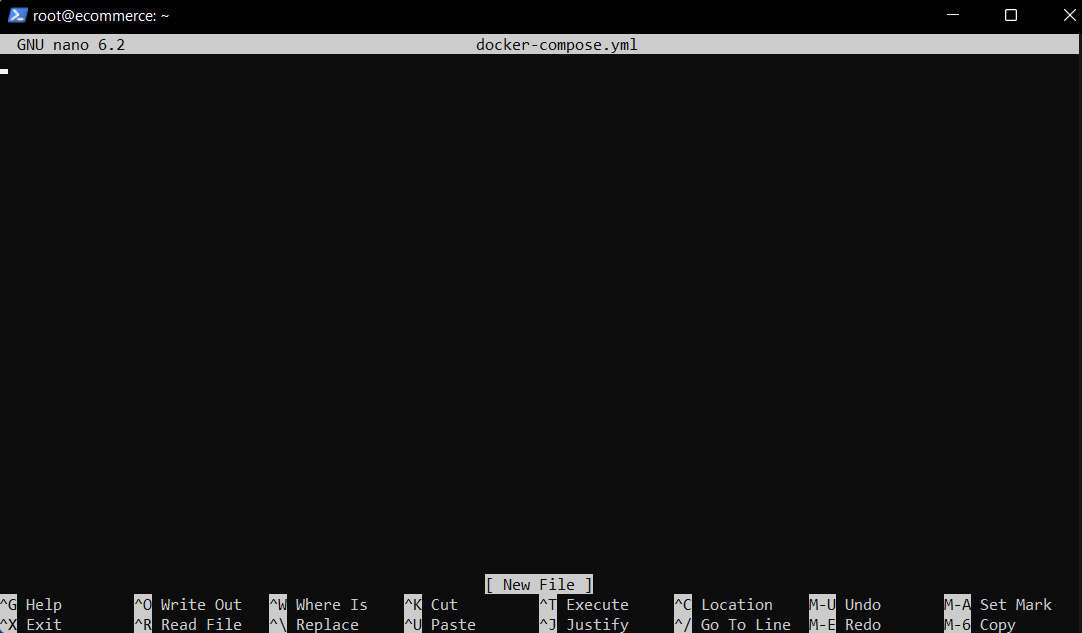
Go to the project and copy the compose file and paste them here. Then press ctrl + x -> choose 'yes' -> press enter

Check the file name and press enter.

Install docker-compose
apt install docker-composeAnd run the command below to set up the docker
docker-compose up

Installing Apache
Now, we need Apache to use as a web server.
Update the package installer
sudo apt update
sudo apt install apache2
Install a module to create a reverse proxy.
a2enmod proxy proxy_http proxy_html rewrite
Restart the Apache.
systemctl restart apache2
Firewall Update
To give access to Apache to the firewall run the command below.
sudo ufw allow 'Apache Full'
Check if it was granted an access
sudo systemctl status apache2
sudo ufw allow 5432/tcp
sudo ufw allow 8081/tcp
Append the IP address after the protocol and give a browser test.
http://<ipAddress>

Adding an Application Folder
Create a folder to hold the project on the server.
sudo mkdir /var/<folderName>
Grant access to users.
sudo chown -R $USER:$USER /var/<folderName>
Open the nano editor with the configuration file.
sudo nano /etc/apache2/sites-available/<fileName>.conf
Paste the code below (as is)
<VirtualHost *:80>
  ServerAdmin webmaster@localhost
  ProxyPreserveHost On
  ProxyPass / http://127.0.0.1:5000/
  ProxyPassReverse / http://127.0.0.1:5000
  ErrorLog ${APACHE_LOG_DIR}/error.log
  CustomLog ${APACHE_LOG_DIR}/access.log combined
</VirtualHost>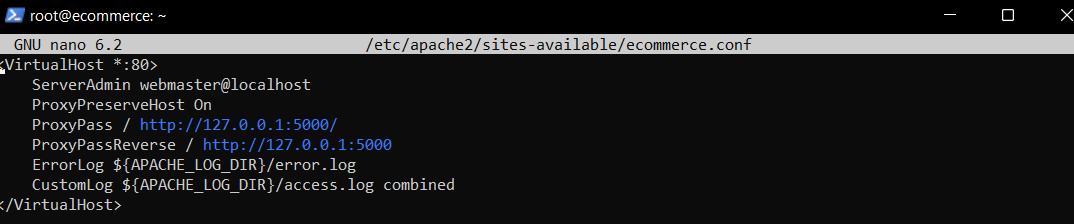
Press ctrl + x -> 'yes' -> enter.
Activate apache site
a2ensite <configFileName>
Check if it is activated
ls /etc/apache2/sites-enabled
There is a default site but since both use the same port, deactivate the default one.
a2sissite 000-default
Reload Apache
systemctl reload apache2Application Deployment
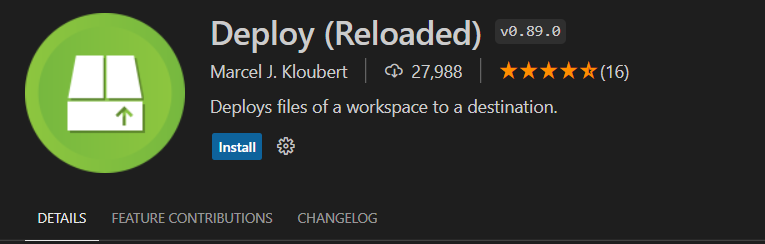
Install the extension below in your editor.
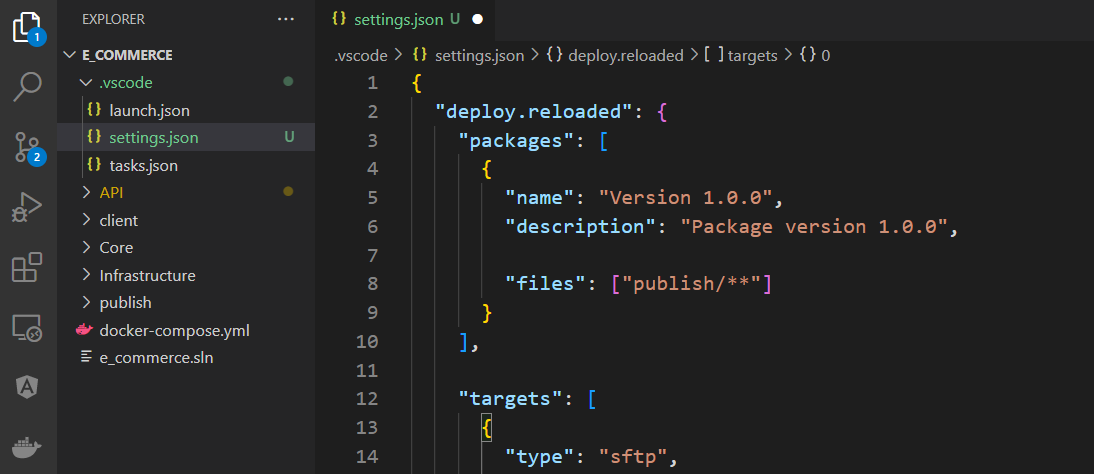
Create a 'setting.json' inside the .vscode folder

Use the configuration code below.
{
  "deploy.reloaded": {
    "packages": [
      {
        "name": "Version 1.0.0",
        "description": "Package version 1.0.0",

        "files": ["publish/**"]
      }
    ],

    "targets": [
      {
        "type": "sftp",
        "name": "Linux",
        "description": "SFTP folder",

        "host": "<IPAddress>",
        "port": 22,
        "user": "root",
        "password": "<Password>",

        "dir": "/var/<folderName>",
        "mappings": {
          "publish/**": "/"
        }
      }
    ]
  }
}
Re-publish the project
dotnet publish -c Release -o publish <solutionName>.sln
Open the search bar and choose the option shown below one by one.
Deploy Reloaded: Deploy...
Package
Then the deployment will be started (this will deploy the application to the server).

After it is done, go to the Linux server and run the command below to check the files.
ls /var/<folderName>
Service Set Up
Open the nano editor to configure the service file.
sudo nano /etc/systemd/system/<fileName>-web.service
Enter the code below.
[Unit]
Description=Kestrel service running on Ubuntu 20.04
[Service]
WorkingDirectory=/var/<folderName>
ExecStart=/usr/bin/dotnet /var/<folderName>/API.dll
Restart=always
RestartSec=10
SyslogIdentifier=<projectName>
User=www-data
Environment=ASPNETCORE_ENVIRONMENT=Production
<EnvironmentVariables>
[Install]
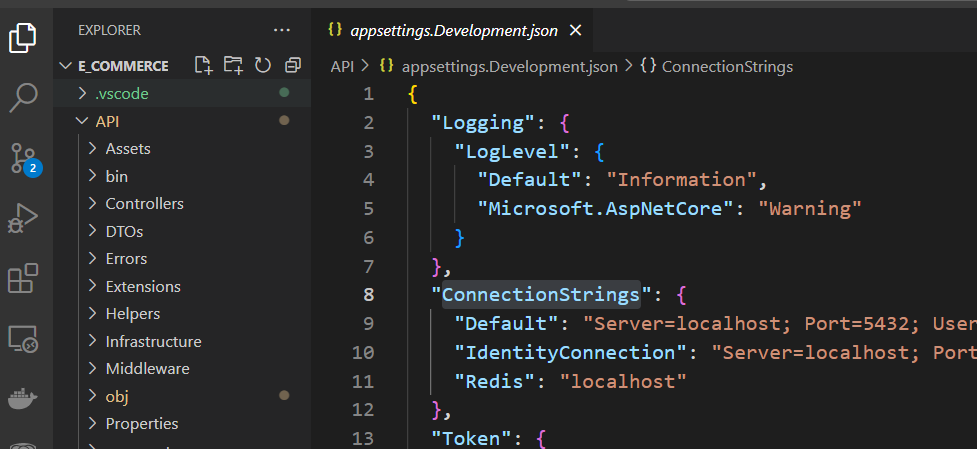
WantedBy=multi-user.targetAdd all the environment variables where it says <EnvironmentVariables>. Use double under bar, '__', to mark sub key and include values without the double quotes. We don't need to change anything but the localhost path which should be the IP address.
※ Examples
[Unit]
Description=Kestrel service running on Ubuntu 20.04
[Service]
WorkingDirectory=/var/<folderName>
ExecStart=/usr/bin/dotnet /var/<folderName>/API.dll
Restart=always
RestartSec=10
SyslogIdentifier=<projectName>
User=www-data
Environment=ASPNETCORE_ENVIRONMENT=Production
Environment='ConnectionStrings__Default=Server=localhost;Port=5432;User Id=user;Password=secret; Database=commerse'
Environment='ConnectionStrings__Identity=Server=localhost;Port=5432;User Id=user;Password=secret; Database=identity'
Environment='ConnectionStrings__Redis=localhost'
Environment='ApiUrl=https://<IPAddress>/Assets'
[Install]
WantedBy=multi-user.target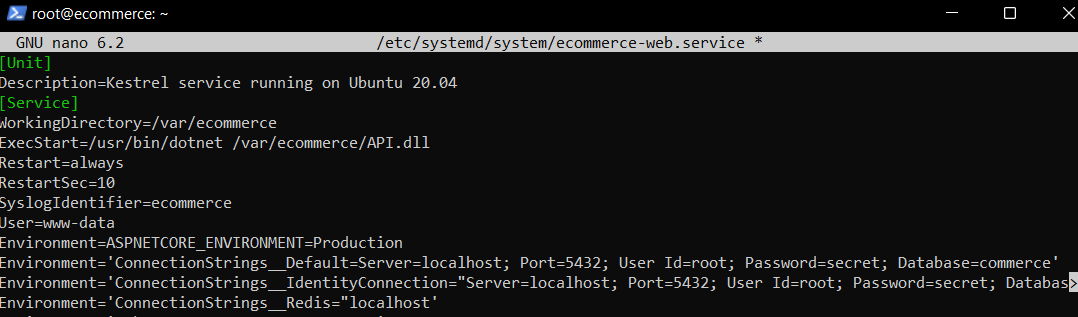
Press ctrl + x -> 'yes' -> enter
Run-time Installment
https://docs.microsoft.com/en-gb/dotnet/core/install/linux-ubuntu#2004-
.NET and Ubuntu overview - .NET
Demonstrates the various ways to install .NET SDK and .NET Runtime on Ubuntu.
learn.microsoft.com
Run the command below.
sudo apt-get update
Install the core version run time.
sudo apt-get install -y aspnetcore-runtime-<version>
Run the service.
sudo systemctl start <fileName>-web.service
Running the Server
Install net tools.
apt install net-toolsFinally, run the server
netstat -ntplRefresh the browser and you will see the application.

We are done! that was quite a lot. I hope this was helpful!
References
https://cloud.digitalocean.com/
DigitalOcean | The Cloud for Builders
Simple, scalable cloud computing solutions built for startups and small-to-midsize businesses.
www.digitalocean.com
'Backend > .NET' 카테고리의 다른 글
| Working with Postgres - Code First (0) | 2023.05.23 |
|---|---|
| Generic Pattern - Unit of Work Pattern (0) | 2023.05.16 |
| Server Memory - Redis (3) | 2023.05.10 |
| Project Structure and Optimizing Development Environment (0) | 2023.05.07 |
| Packages - Identity (0) | 2023.05.01 |


