There are two ways of using the Entity Framework to connect a database to a project. One way is to create the database first which is called the database first approach and the other, of course, is to write code first which is called the code first approach. In this writing, we will see the second approach.
List of Contents
Application Creation
First, let's create a .NET application.
How to create a .NET web-API application (tistory.com)
How to create .NET web-API
Setting up development tools When working with .NET, we need tools to create a web application. We can download them in the link below.다. .NET | Free. Cross-platform. Open Source. (microsoft.com) .NET | Free. Cross-platform. Open Source. .NET is a develo
jin-co.tistory.com
Database Connection
1. Entity
An entity is another term for referring to a model in other languages. Each attribute in an entity represents a field in a table of a relational database.
First, to make navigating around easy, let's make a folder to hold the entity class.

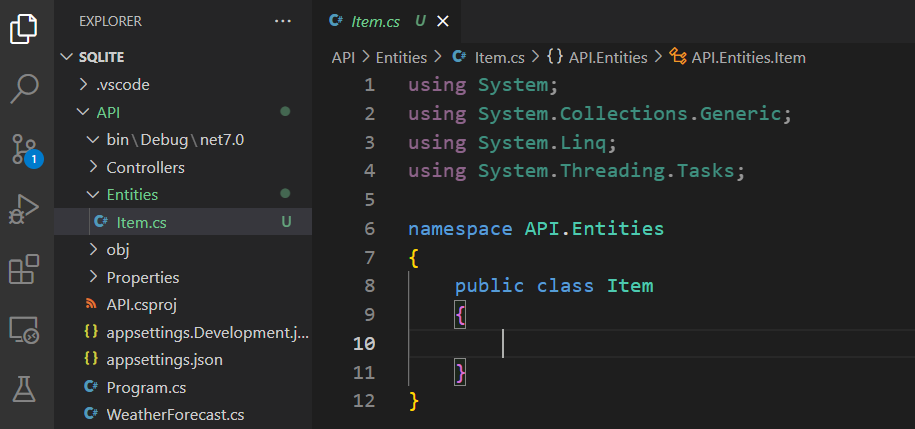
Now create a C# class file in that folder.

The class will look like this
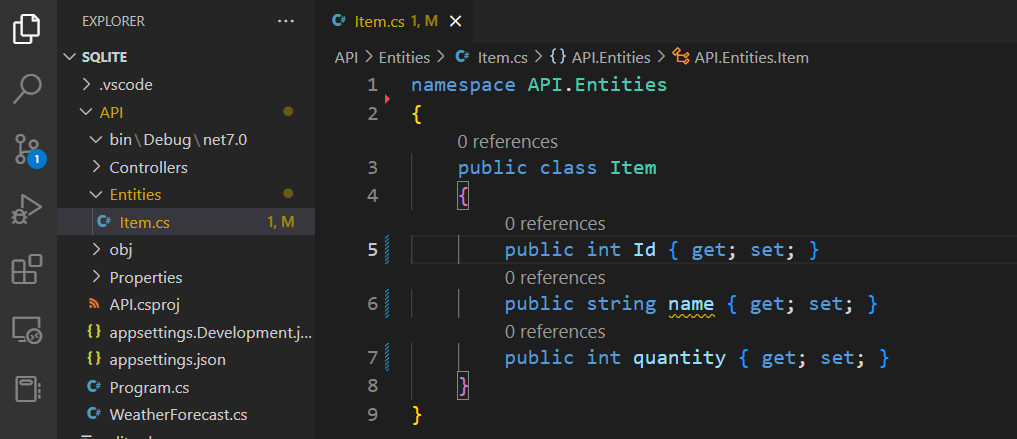
Add attributes for the entity. In this example, I added three of them to describe an item in a shop.
2. Packages
We need packages to connect our project to a database. Open the search bar at the top then find NuGet Gallery
NuGet: Open NuGet Gallery
▶ Packages needed
When installing a package, The version of the package must match the version of .NET you are using. For example, if you are using .NET 7 you should download packages that start with 7.
Search each of the packages below and check the check box on the right and click 'install'
Microsoft.EntityFrameworkCore.SqliteThis package allows us to use the SQLite database.

Microsoft.EntityFrameworkCore.DesignThis package is for converting our code to a database.

This package is for data migration.
dotnet-ef
※ We also can visit the NuGet website and download packages from there.
https://www.nuget.org/packages
NuGet Gallery | Packages
There are 319,784 packages Sort by Relevance Downloads Recently updated
www.nuget.org
3. Db Context
Let's create a folder called Data to hole DbContext class.
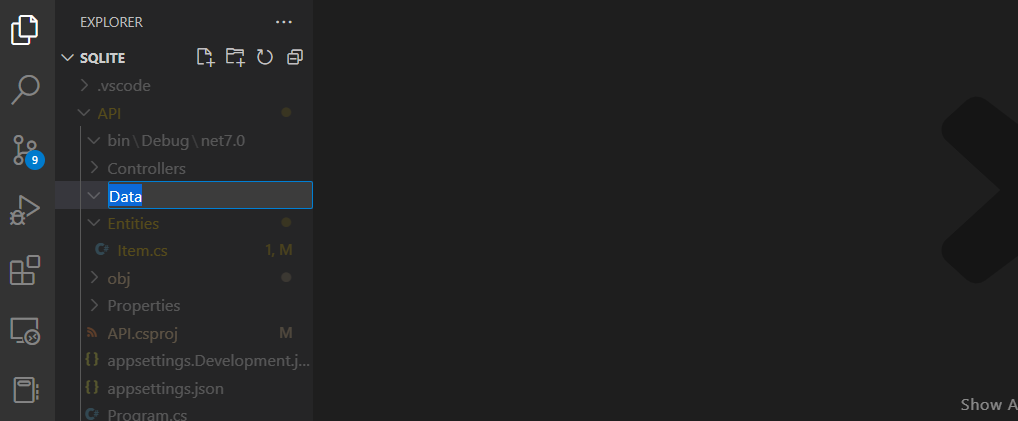
Add a C# in the folder.

Append 'DbContext' after the name of the class with ':' in between to inherit features from it
using Microsoft.EntityFrameworkCore;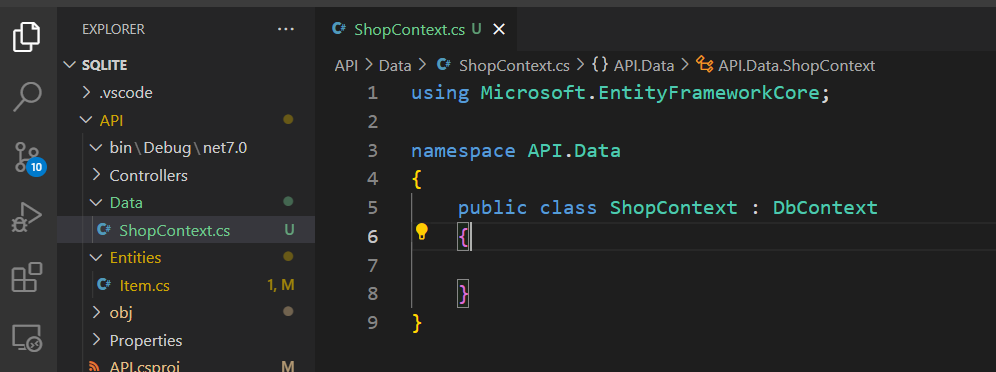
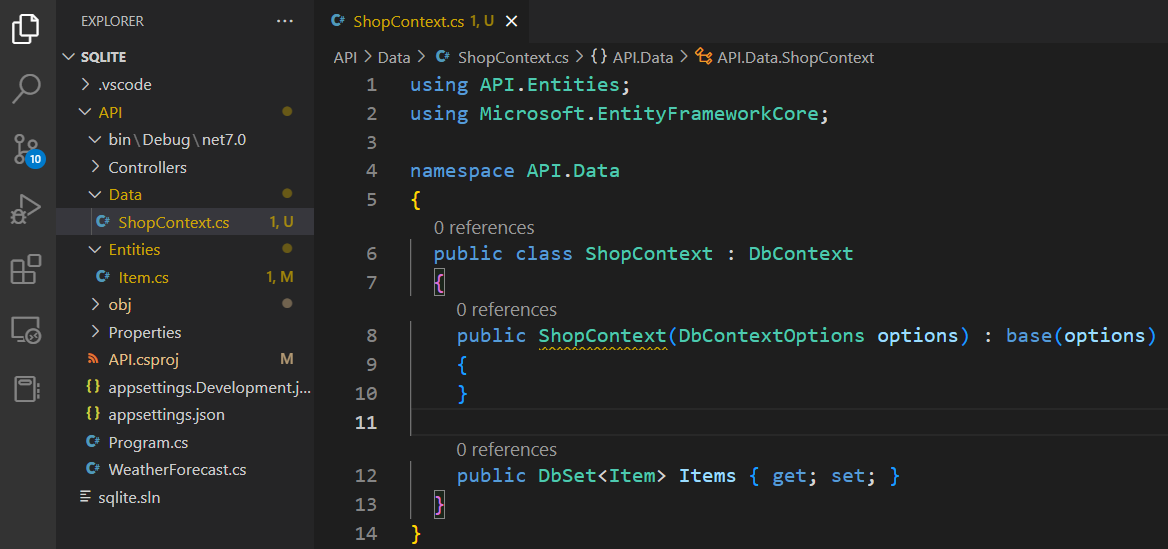
Now that we inherited, let's define a constructor from the parent. And we have to add attributes to hold data for each entity (In this example, we added only one entity for the item but if you want to add more entities, you have to add an attribute for each of them here to hold the data).
using API.Entities;
using Microsoft.EntityFrameworkCore;

namespace API.Data
{
  public class ShopContext : DbContext
  {
    public ShopContext(DbContextOptions options) : base(options)
    {
    }

    public DbSet<Item> Items { get; set; }
  }
}
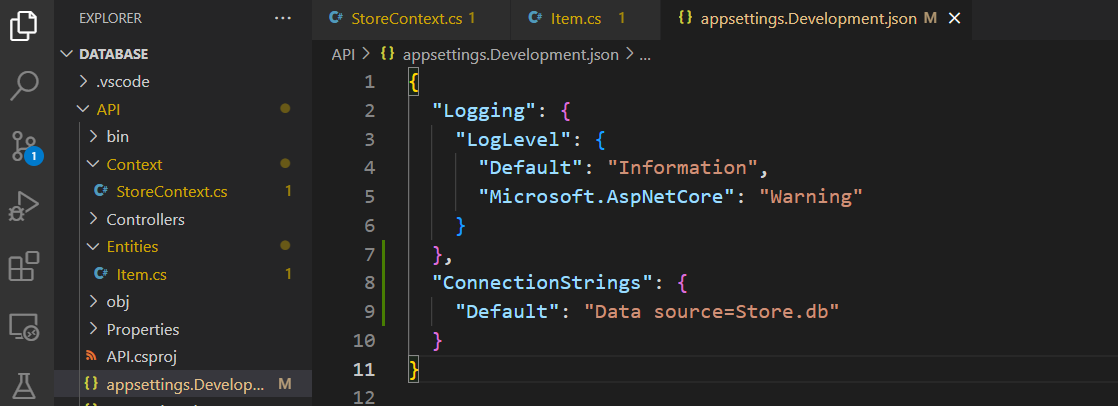
A connection is like a command that is used to connect to a database. We can add connection strings directly in the 'Program.cs' when adding a use statement or we can write them in the 'appsettings.Development.json' and appsettings.json to use as an environment variable. I am going to go with the latter in this example as it is a better practice.
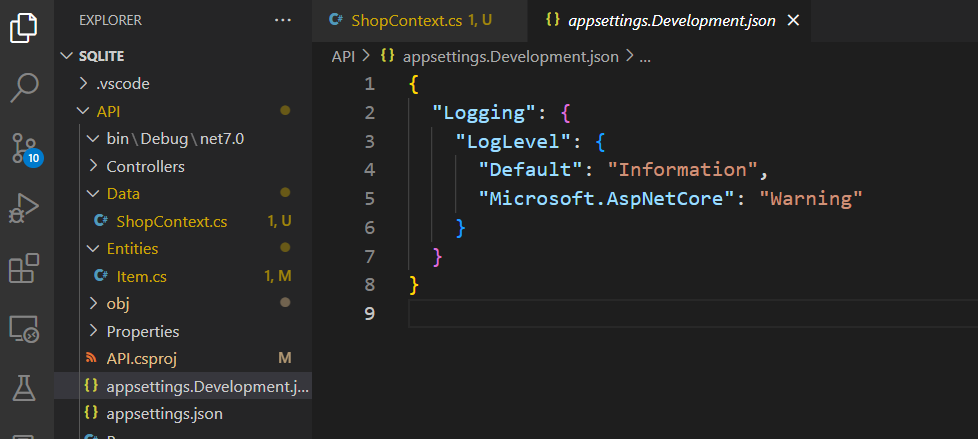
SQLite is a database written in a text file. Its connection string looks like this.
"Data source=<datebaseName>.db"{
"Logging": {
"LogLevel": {
"Default": "Information",
"Microsoft.AspNetCore": "Warning"
}
},
"ConnectionStrings": {
"Default": "Data source=Store.db"
}
}
4. Service Set Up
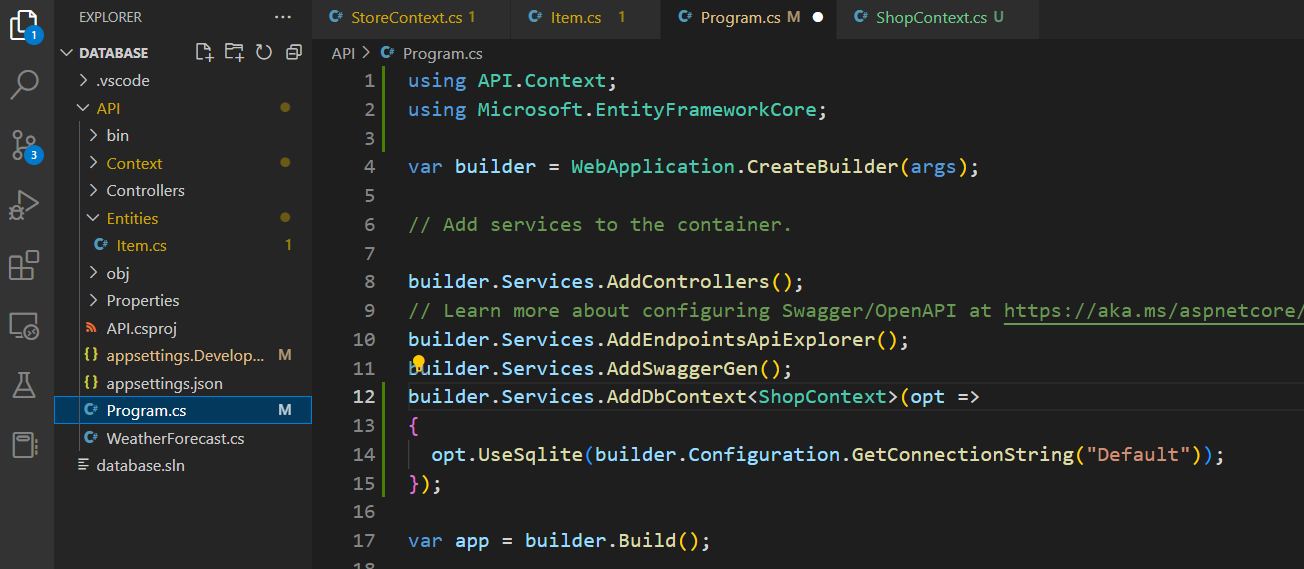
If you want to use additional features such as a service, you have to first add them to the Program.cs file. So let's open the file and add the Db Context service.
builder.Services.AddDbContext<ShopContext>(opt =>
{
  opt.UseSqlite(builder.Configuration.GetConnectionString("Default"));
});
※ We can also directly add the connection string without using the Configuration
builder.Services.AddDbContext<ShopContext>(opt =>
{
  opt.UseSqlite("Data Source=Store.db");
});
5. Migration
※ We can check out available commands by running the command below.
dotnet ef migrationsThe migration command looks as below
dotnet ef migrations add <MigrationName> -o <path>The above command must be run in the API application folder and the server must be stopped before running the command.

If successful, you will see a message like this.

And in the folder you specified, you will see three files created.

※ Among the three files '.Designer.cs' and 'Snapshot.cs' files are to back up the database data. And <MigrationName.cs> file has all the code to create the database.
※ Note that it is better to above naming the folder to hold the Migration file Migration as a duplicate name hampers C#'s ability to find the right one.

※ If you have multiple projects, then running the command in the solution folder will be easier. Use the command below in such a case
dotnet ef migrations add <MigrationName> -p Infrastructure/ -s API/ -o <Path>
6. Database Creation
After successful migration. Run the command below to create a database. For your note 'of database' only has two commands 'drop' and 'update'.
dotnet ef database update
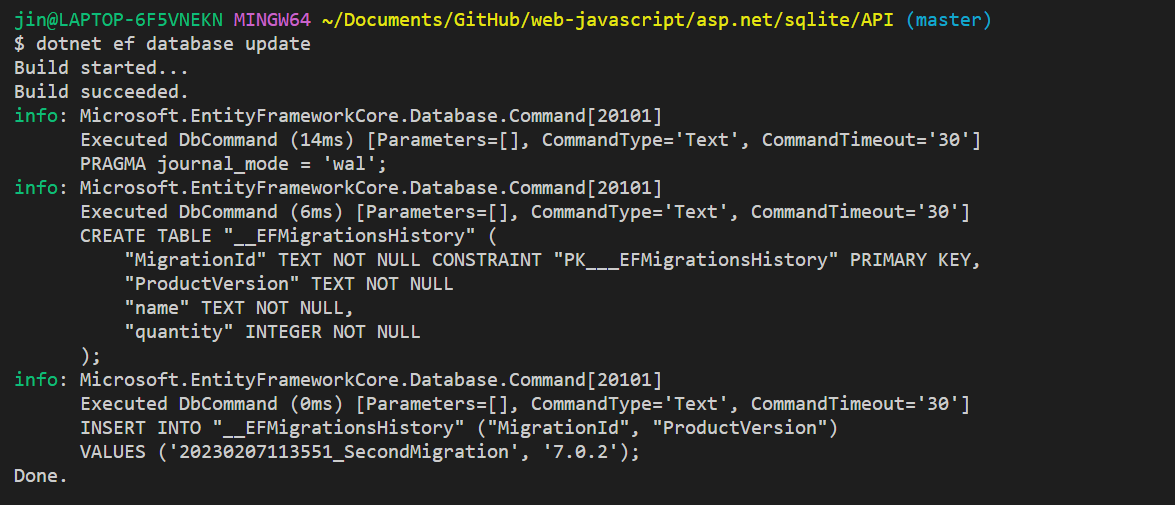
※ If you see an error like this, it is possible that you have used the wrong connection string.

※ If you have multiple projects, then running the command in the solution folder will be easier. Use the command below in such a case
dotnet ef database update -p Infrastructure/ -s API/
※ Auto database creation and seeding (tistory.com)
Auto database creation and seeding
When you download a .NET application for the first time and try to run the project, you might face a problem running the project if you don't seed the data first. Entity framework provides an easy way to create a database when setting up the project after
jin-co.tistory.com
In this writing, we have seen how to connect .NET and Sqlite using the code-first approach.
'Backend > .NET' 카테고리의 다른 글
| .NET - Cleaning Up Program File: Service Extension Method (0) | 2023.03.08 |
|---|---|
| How to create .NET web-API (1) | 2023.03.02 |
| Adding Relation to DB (0) | 2023.03.02 |
| Auto Migration and Data Seeding (1) | 2023.03.01 |
| Server Architecture - Distributing Projects (1) | 2023.03.01 |


