When you download a .NET application for the first time and try to run the project, you might face a problem running the project if you don't seed the data first. Entity Framework provides an easy way to create a database when setting up the project after downloading.
Creating an Application
First, let's create a .NET application.
How to create a .NET web-API application (tistory.com)
How to create .NET web-API
Setting up development tools When working with .NET, we need tools to create a web application. We can download them in the link below.다. .NET | Free. Cross-platform. Open Source. (microsoft.com) .NET | Free. Cross-platform. Open Source. .NET is a develo
jin-co.tistory.com
Preparing for a Migration
1. Packages
We need packages to connect our project to a database. Open the search bar at the top then find NuGet Gallery
NuGet: Open NuGet Gallery
▶ Packages needed
When installing a package, The version of the package must match the version of .NET you are using. For example, if you are using .NET 7 you should download packages that start with 7.
Search each of the packages below and check the check box on the right and click 'install'
Microsoft.EntityFrameworkCore.SqliteThis package allows us to use the SQLite database.

Microsoft.EntityFrameworkCore.DesignThis package is for converting our code to a database.

This package is for data migration.
dotnet-ef
2. Db Context
Let's create a folder called Data to hole DbContext class.

Add a C# class in the folder.

Append 'DbContext' after the name of the class with ':' in between to inherit features from it
using Microsoft.EntityFrameworkCore;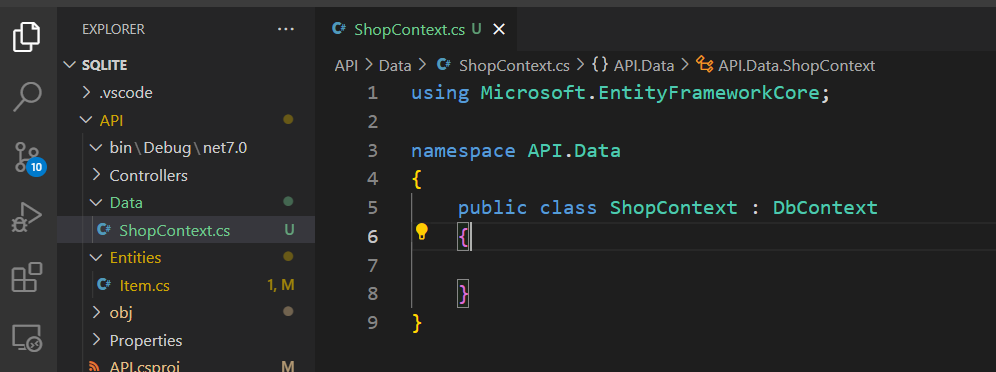
Now that we inherited, let's define a constructor from the parent. And we have to add attributes to hold data for each entity (In this example, we added only one entity for the item but if you want to add more entities, you have to add an attribute for each of them here to hold the data).
using API.Entities;
using Microsoft.EntityFrameworkCore;

namespace API.Data
{
  public class ShopContext : DbContext
  {
    public ShopContext(DbContextOptions options) : base(options)
    {
    }

    public DbSet<Item> Items { get; set; }
  }
}
3. Service Set Up
If you want to use additional features such as a service, you have to first add them to the Program.cs file. So let's open the file and add the Db Context service.
builder.Services.AddDbContext<ShopContext>(opt =>
{
  opt.UseSqlite(builder.Configuration.GetConnectionString("Default"));
});
Migration
We can run the migration command under the folder where the migration context file is located.
dotnet ef migrations add <MigrationName> -o <path>Or on the root folder with the command below.
dotnet ef migrations add <MigrationName> -p <contextFileProjectName> -s <APIProjectName> -o <pathToCreateMigration>Auto Migration
Insert the code below right before the 'app.Run();' under the Program.cs
using var scope = app.Services.CreateScope();
var services = scope.ServiceProvider;
var context = services.GetRequiredService<ShopContext>();
try
{
  await context.Database.MigrateAsync();
}
catch (Exception ex)
{
  Console.WriteLine(ex);
}
Run
Now, let's move to the API folder and run the app.
cd <APIProjectName>
cd dotnet watch

When completed, you see the automatically created database.
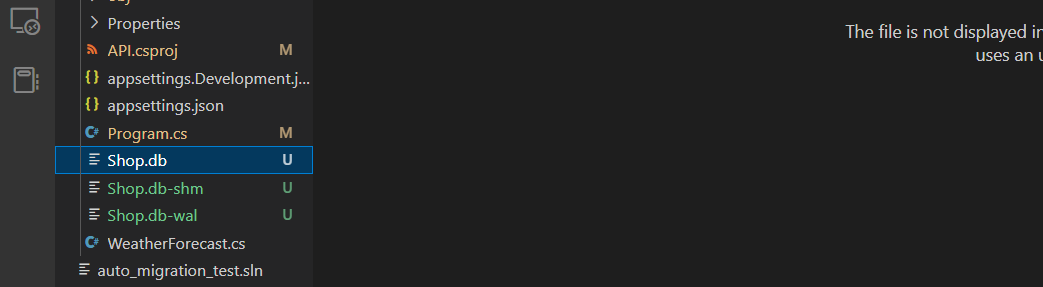
Note that this feature does not depend on the migration so even if you run the application after the migration is updated, it won't create a new database.
Seeding data
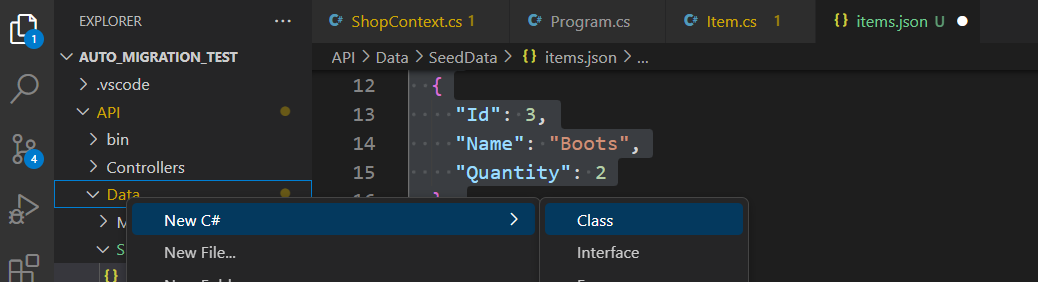
Let's create a folder first to better organize our code.

Create a JSON file (If you have a data file you can add that file instead of creating like I am)


Add dummy data in a JSON format like below. The 'id' property in the primary table is automatically created so you can omit the field
[
  {
    "Id": 1,
    "Name": "Glasses",
    "Quantity": 2
  },
  {
    "Id": 2,
    "Name": "Hats",
    "Quantity": 2
  },
  {
    "Id": 3,
    "Name": "Boots",
    "Quantity": 2
  },
  {
    "Id": 4,
    "Name": "Gloves",
    "Quantity": 2
  }
]
Create a context file to inject the data.
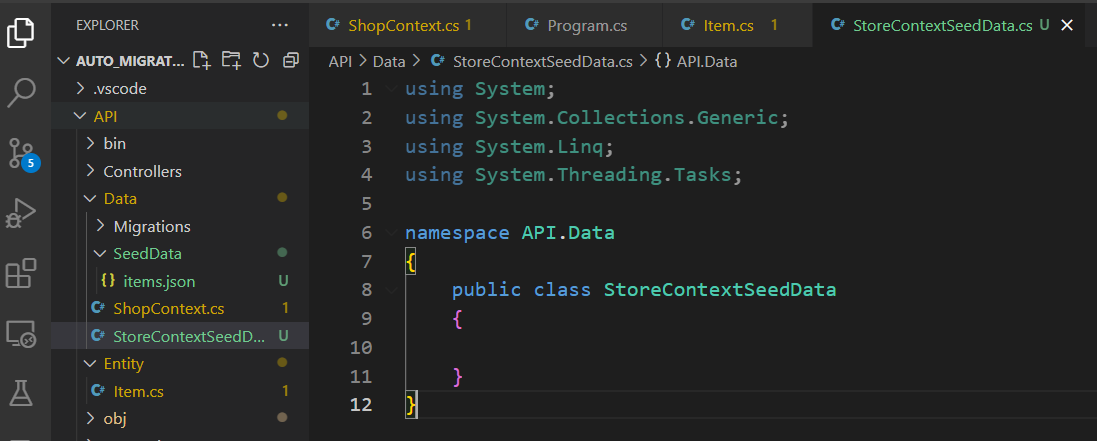
Add a static method (A method that can be used without instantiating) in the class.
public static async Task SeedAsync(ShopContext context) {
    if(!context.Items.Any()) // Check if data already exists in the table
    {
        var itemsData = File.ReadAllText("./Data/SeedData/items.json"); // Read data from the file
        var items = JsonSerializer.Deserialize<List<Item>>(itemsData); // Convert the data to an array
        context.Items.AddRange(items); // Add the target entity
    }

    // Saves whenever there is a change
    if(context.ChangeTracker.HasChanges()) await context.SaveChangesAsync();
}
▶ Local Environment
※ Right-click the file and copy the relative path (Note that the path should be from the Program.cs file, so even if you move this file to another folder the starting point should always be the Program.cs file for this to work).

Paste that as a parameter into the function that fetches the data.

To fix the error you see above, we can either append a backslash or change them to a forward slash. Here, I changed 'API/' to './' as I prefer using './'

▶ Production Environment
For this to work on both the local and production, we have to change the hard-coded path to a dynamic one
Open the .csproj file and add the code below in the ItemGroup tag
<None Include="Data\SeedData\**" CopyToOutputDirectory="PreserveNewest" />
Go to the data seed class and change the path as shown below.
var path = Path.GetDirectoryName(Assembly.GetExecutingAssembly().Location);
Add the code below to the Program.cs
await StoreContextSeedData.SeedAsync(context);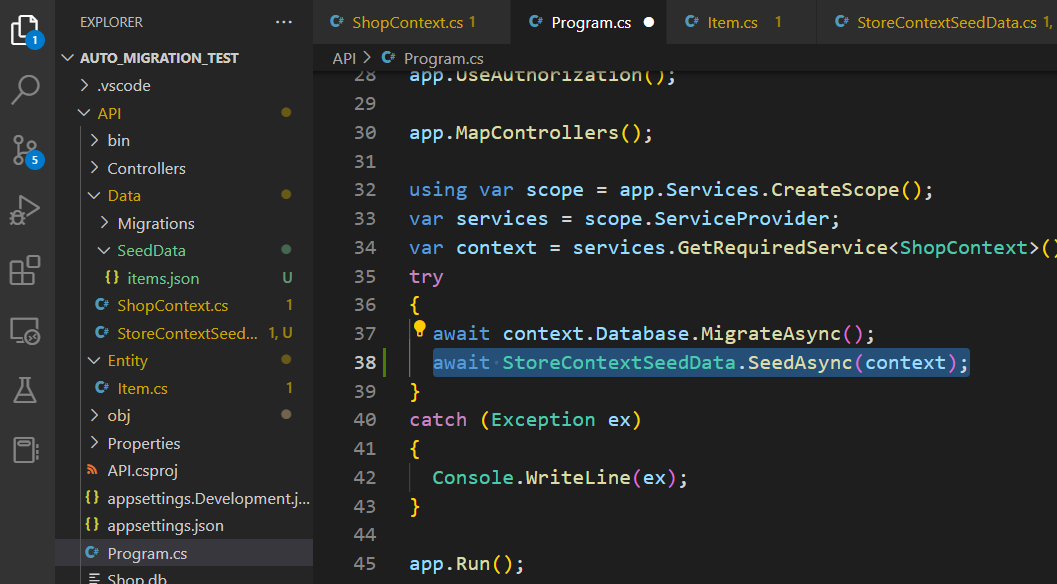
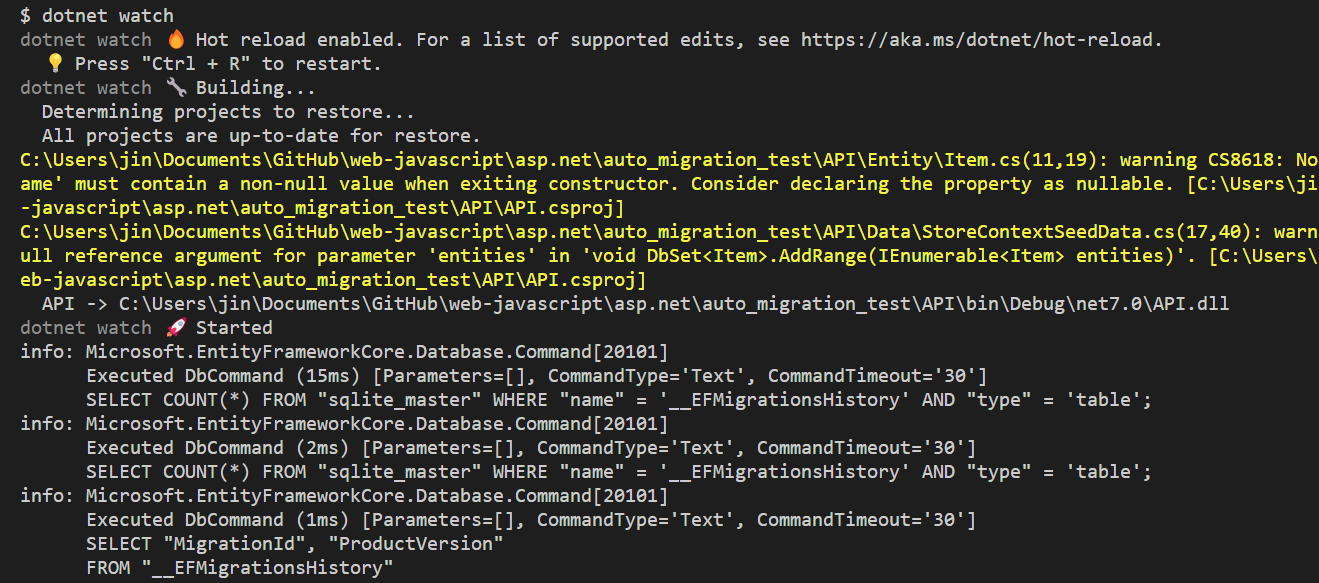
Run
Now, let's move to the API folder and run the app.
cd <APIProjectName>
cd dotnet watch
You will see an additional message as the code is trying to add data when running.
When completed, open the SQLite extension to see the data


※ VS Code [Extention] - Sqlite
VS Code [Extention] - Sqlite
Unlike VS, VS Code does not have native features like accessing a database let alone manipulating the data in the database. However, VS Code comes with lots of extensions that make VS Code so powerful yet compact. Sqlite is one of which extensions that we
jin-co.tistory.com
Adding Relation to DB
Entity framework makes adding a relationship between tables easy. Let's see how it is done. Creating an Application First, let's create a .NET application. How to create a .NET web-API application (tistory.com) How to create a .NET web-API application Sett
jin-co.tistory.com
That is it! We have seen automatically adding data and I hope this can be helpful.
'Backend > .NET' 카테고리의 다른 글
| .NET - Cleaning Up Program File: Service Extension Method (0) | 2023.03.08 |
|---|---|
| How to create .NET web-API (1) | 2023.03.02 |
| Adding Relation to DB (0) | 2023.03.02 |
| Server Architecture - Distributing Projects (1) | 2023.03.01 |
| Working with SQLite in .NET (Code first) (1) | 2023.03.01 |


