As my blog is about web development, I have decided to add a clipboard feature to allow users to copy and paste the codes easily.
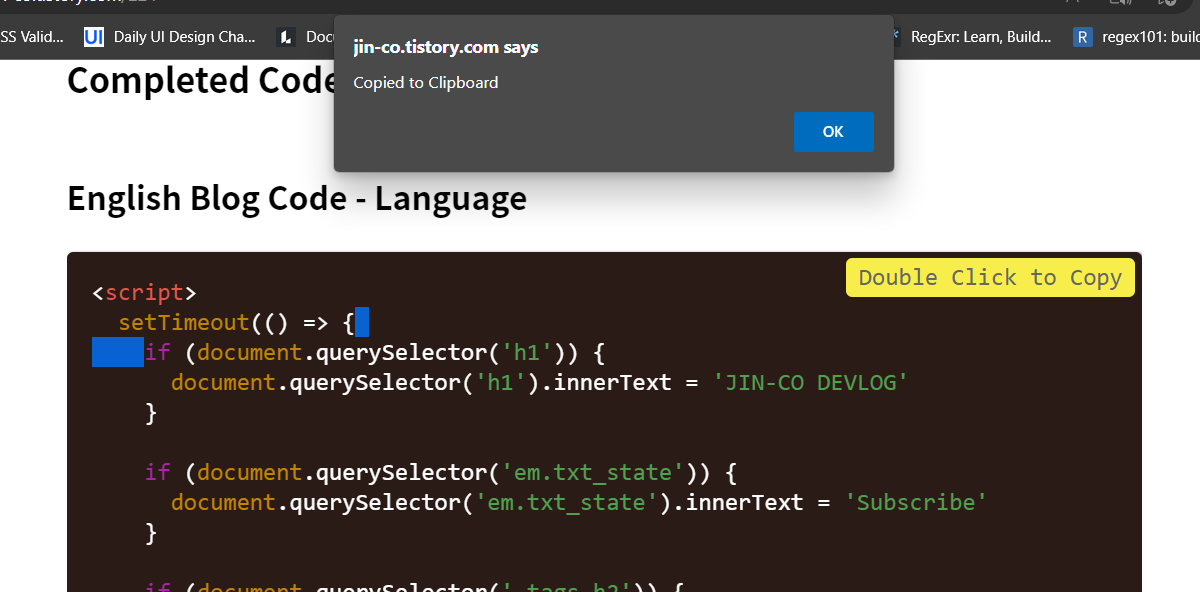
Completed Codes
<script>
  setTimeout(() => {
    const copyPreEls = document.querySelectorAll("pre")
    let messageShowing = false
    copyPreEls.forEach(el => {
      el.addEventListener('mouseenter', () => {
        if (!messageShowing) {
          const messageEl = document.createElement('p')
          messageEl.innerText = 'Double Click to Copy'
          messageEl.style.position = 'absolute'
          messageEl.style.top = '15px'
          messageEl.style.right = '5px'
          messageEl.style.backgroundColor = '#f7ee4b'
          messageEl.style.padding = '5px 10px'
          messageEl.style.borderRadius = '5px'
          messageEl.style.transform = 'scale(0)'
          messageEl.style.transition = '.4s ease'
          setTimeout(() => {
            messageEl.style.transform = 'scale(1)'
          }, 10)

          setTimeout(() => {
            messageEl.style.transform = 'scale(0)'
          }, 1600)

          el.appendChild(messageEl)
          messageShowing = true

          setTimeout(() => {
            el.removeChild(messageEl)
            messageShowing = false
          }, 1800)
        }
      })

      el.addEventListener('dblclick', () => {
        // Copy the text inside the text field
        navigator.clipboard.writeText(el.querySelector('code.hljs').textContent);

        // Alert the copied text
        const resultMessageEl = document.createElement('div')
        resultMessageEl.innerText = 'Copied'
        resultMessageEl.style.position = 'fixed'
        resultMessageEl.style.top = '15px'
        resultMessageEl.style.right = '15px'
        resultMessageEl.style.backgroundColor = '#f7ee4b'
        resultMessageEl.style.padding = '5px 10px'
        resultMessageEl.style.borderRadius = '5px'
        resultMessageEl.style.transform = 'scale(0)'
        resultMessageEl.style.transition = '.4s ease'
        setTimeout(() => {
          resultMessageEl.style.transform = 'scale(1)'
        }, 10)

        setTimeout(() => {
          resultMessageEl.style.transform = 'scale(0)'
        }, 1600)

        document.body.appendChild(resultMessageEl)

        setTimeout(() => {
          document.body.removeChild(resultMessageEl)
        }, 2000)
      })
    });
  }, 100)
</script>
Implementation
Looking at several possible ways, I decided to use JavaScript's navigator object to implement this due to its easy implementation and not requiring any additional configurations. We just need to call the necessary function under the navigator object to store the text and it is that easy.
navigator.clipboard.writeText(copyText.value);
Next, to get the target elements and to add desired behavior, I have decided to get all the elements and add an event through a loop.

As for the event, it is possible that a user wants to copy one line or two so I used the 'double click' rather than the 'single click'
const copyPreEls = document.querySelectorAll("pre")

copyPreEls.forEach(el => {
  el.addEventListener('dblclick', () => {
    // Copy the text inside the text field
    navigator.clipboard.writeText(el.textContent);

    // Alert the copied text
    alert("Copied to Clipboard");
  })
})
Web development is all about a proper response so it is always good to let the users know about what is going on when an action is taken. To do that, I added a message with styles and a timer that automatically hides the message after a while to respond to the user's actions
const copyPreEls = document.querySelectorAll("pre")
copyPreEls.forEach(el => {
el.addEventListener('mouseenter', () => {
const messageEl = document.createElement('p')
messageEl.innerText = 'Double Click to Copy'
messageEl.style.position = 'absolute'
messageEl.style.top = '5px'
messageEl.style.right = '5px'
messageEl.style.color = 'absolute'
messageEl.style.backgroundColor = '#f7ee4b'
messageEl.style.padding = '5px 10px'
messageEl.style.borderRadius = '5px'
messageEl.style.transform = 'scale(0)'
messageEl.style.transition = '.4s ease'
setTimeout(() => {
messageEl.style.transform = 'scale(1)'
}, 10)
setTimeout(() => {
messageEl.style.transform = 'scale(0)'
}, 1600)
el.appendChild(messageEl)
setTimeout(() => {
el.removeChild(messageEl)
}, 2000)
})
el.addEventListener('dblclick', () => {
setTimeout(() => {
// Copy the text inside the text field
navigator.clipboard.writeText(el.querySelector('code.hljs').textContent);
}, 2200)
// Alert the copied text
alert("Copied to Clipboard");
})
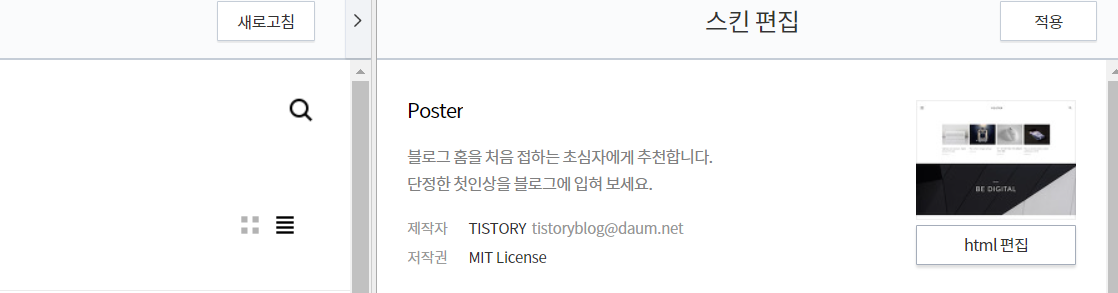
});Now, let's go to the tstory menu. Select 'skin edit'

Click 'HTML edit'
Open the CSS file and add the style below to the 'pre' element which is the container of the code element
position: relative;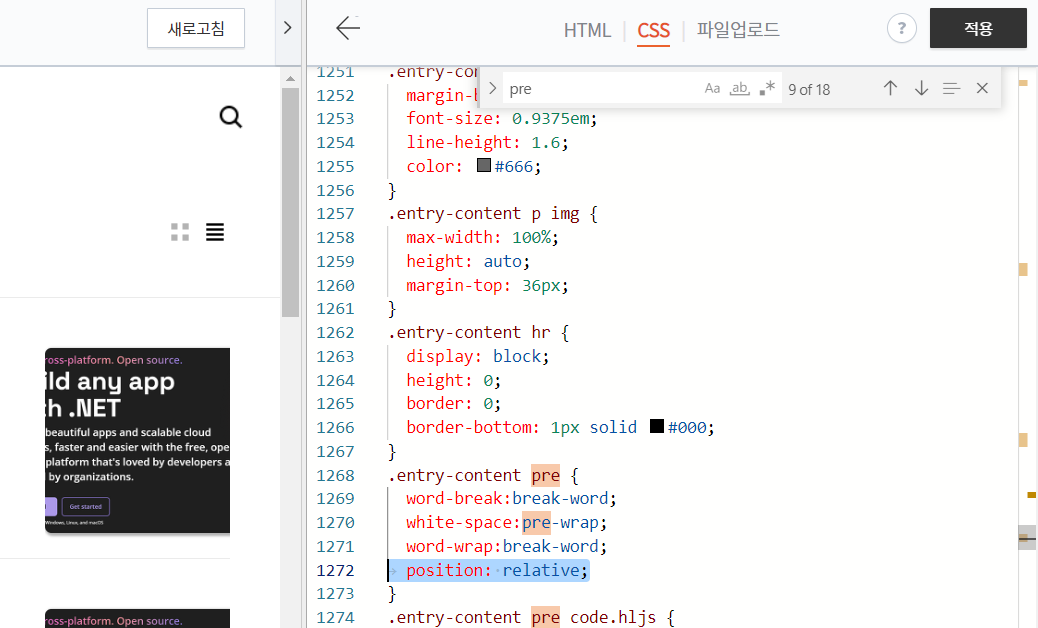
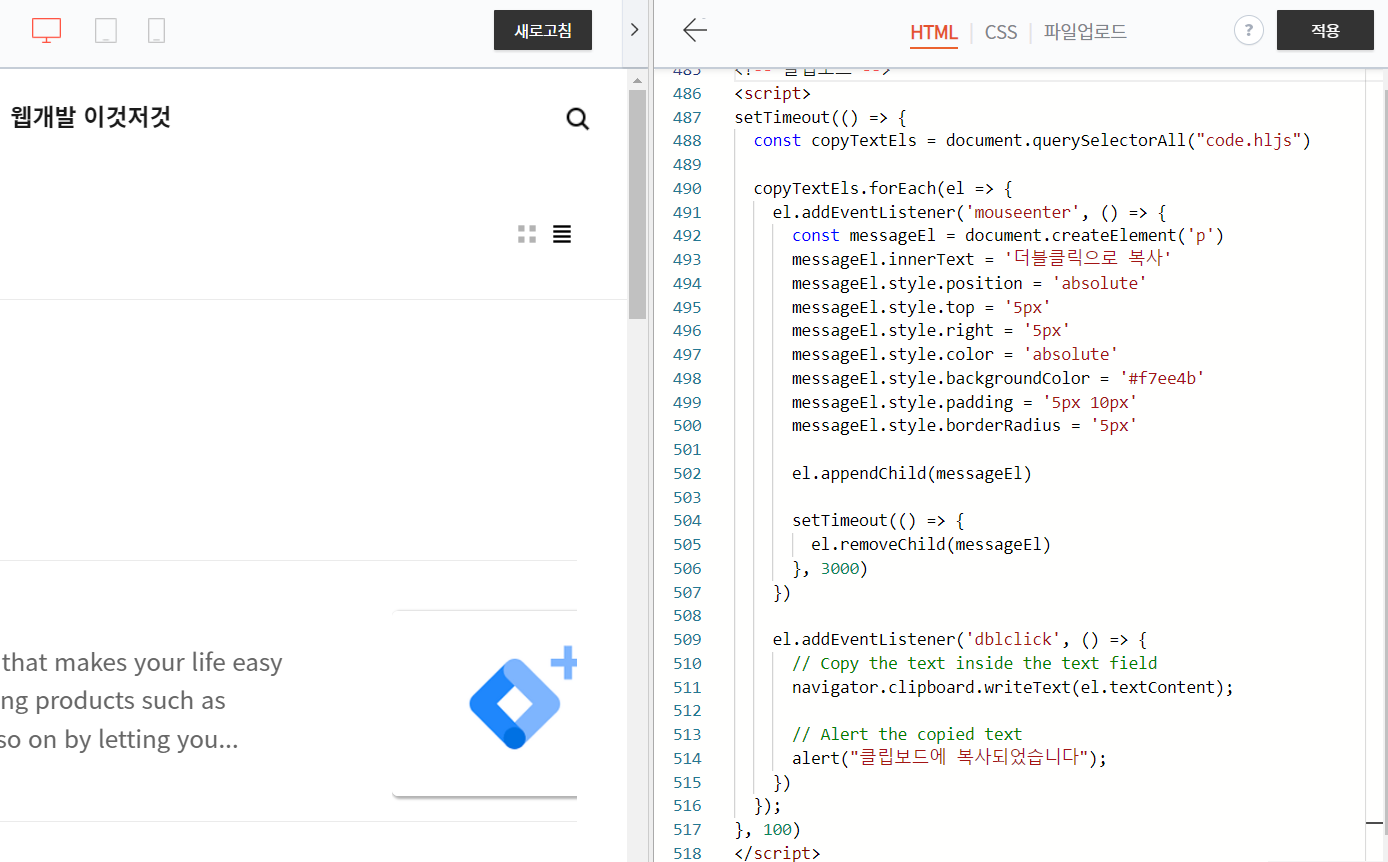
Then for the final touch, add a timer to give room for all the elements to be ready when we try to call them and a condition to prevent multiple messages from being added. Copy the code
<script>
  setTimeout(() => {
    const copyPreEls = document.querySelectorAll("pre")
    let messageShowing = false
    copyPreEls.forEach(el => {
      el.addEventListener('mouseenter', () => {
        if (!messageShowing) {
          const messageEl = document.createElement('p')
          messageEl.innerText = 'Double Click to Copy'
          messageEl.style.position = 'absolute'
          messageEl.style.top = '15px'
          messageEl.style.right = '5px'
          messageEl.style.backgroundColor = '#f7ee4b'
          messageEl.style.padding = '5px 10px'
          messageEl.style.borderRadius = '5px'
          messageEl.style.transform = 'scale(0)'
          messageEl.style.transition = '.4s ease'
          setTimeout(() => {
            messageEl.style.transform = 'scale(1)'
          }, 10)

          setTimeout(() => {
            messageEl.style.transform = 'scale(0)'
          }, 1600)

          el.appendChild(messageEl)
          messageShowing = true

          setTimeout(() => {
            el.removeChild(messageEl)
            messageShowing = false
          }, 1800)
        }
      })

      el.addEventListener('dblclick', () => {
        // Copy the text inside the text field
        navigator.clipboard.writeText(el.querySelector('code.hljs').textContent);

        // Alert the copied text
        const resultMessageEl = document.createElement('div')
        resultMessageEl.innerText = 'Copied'
        resultMessageEl.style.position = 'fixed'
        resultMessageEl.style.top = '15px'
        resultMessageEl.style.right = '15px'
        resultMessageEl.style.backgroundColor = '#f7ee4b'
        resultMessageEl.style.padding = '5px 10px'
        resultMessageEl.style.borderRadius = '5px'
        resultMessageEl.style.transform = 'scale(0)'
        resultMessageEl.style.transition = '.4s ease'
        setTimeout(() => {
          resultMessageEl.style.transform = 'scale(1)'
        }, 10)

        setTimeout(() => {
          resultMessageEl.style.transform = 'scale(0)'
        }, 1600)

        document.body.appendChild(resultMessageEl)

        setTimeout(() => {
          document.body.removeChild(resultMessageEl)
        }, 2000)
      })
    });
  }, 100)
</script>
Paste the code as below of the code as possible
Completed Screen
Save and you will see that it is working
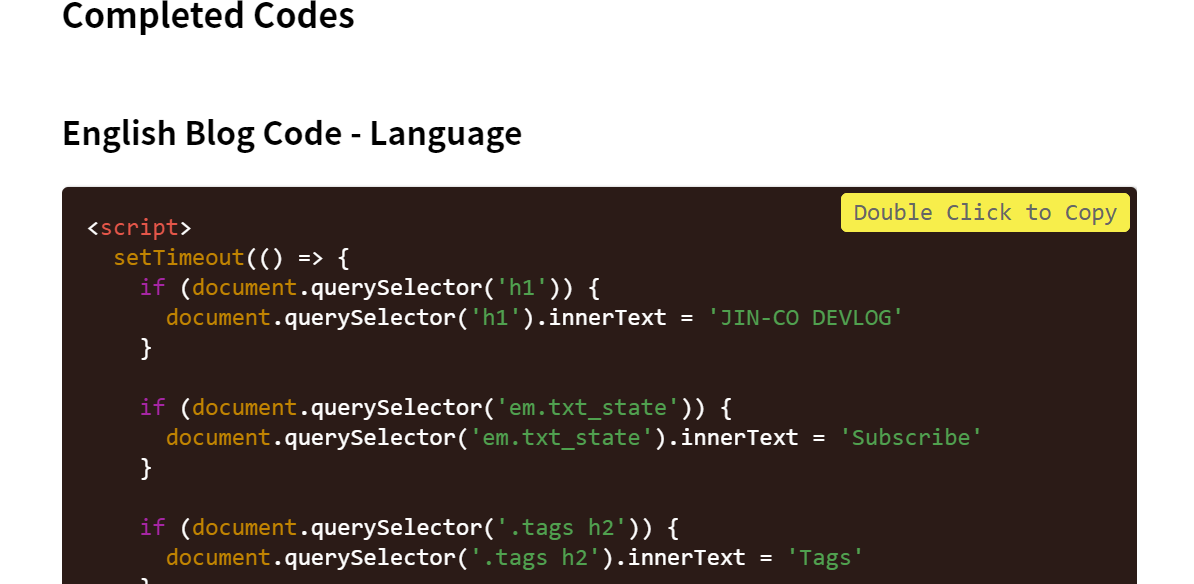
That is it! I hope this can be of help!
References
How To Copy to Clipboard (w3schools.com)
How To Copy to Clipboard
W3Schools offers free online tutorials, references and exercises in all the major languages of the web. Covering popular subjects like HTML, CSS, JavaScript, Python, SQL, Java, and many, many more.
www.w3schools.com
'Web Development Tips > TStory' 카테고리의 다른 글
| tstory - Multi-Lingual Blog (Book Club Skin) (4) | 2023.04.29 |
|---|---|
| tstory - Multi-Lingual Blog (Poster Skin) (0) | 2023.03.08 |
| tstory - How to Use the Format (2) | 2023.03.08 |
| Tstory - Smooth rendering (1) | 2023.03.04 |


