Google Merchant Center (GMC) is like an online warehouse where you can add your products and use them in your advertisement. There are many ways to add products and we will go through each option in this writing
List of Contents
Adding Feeds

1. Adding One
This method is adding items one by one. It is simple and user friendly but it is not fit for large amount of items.
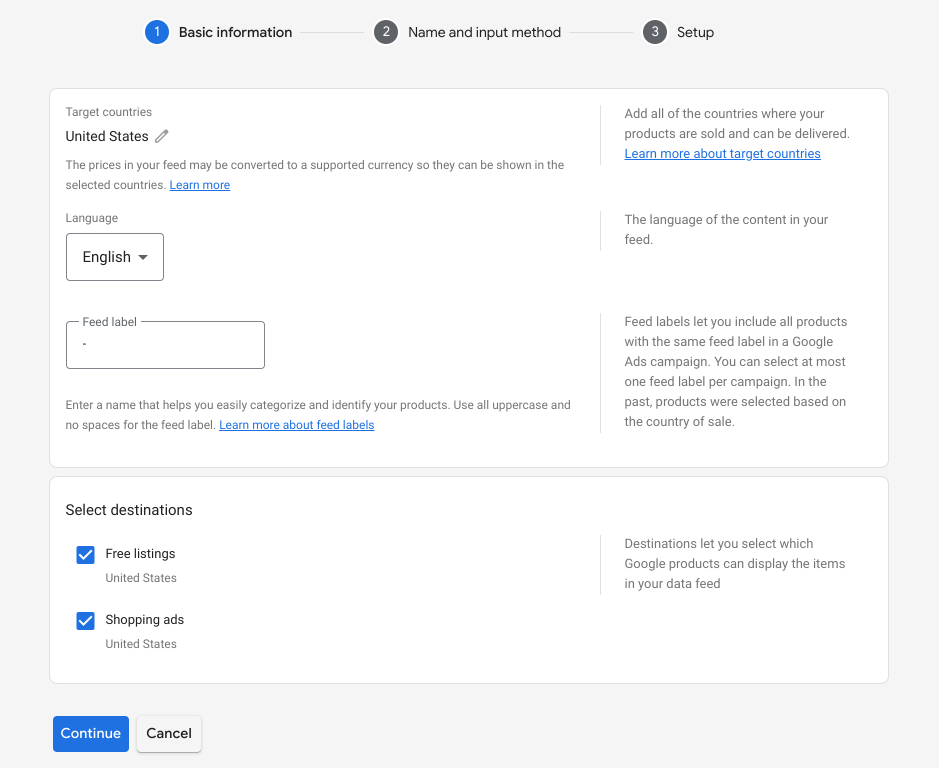
▶ Target country and destinations
Sepcify the country your are targeting and language. A destination represents a program that will use the feeds

Identifiers specify the group of items and they required for certain countries such as The USA

▶ Product Data
Fill in the details of the item

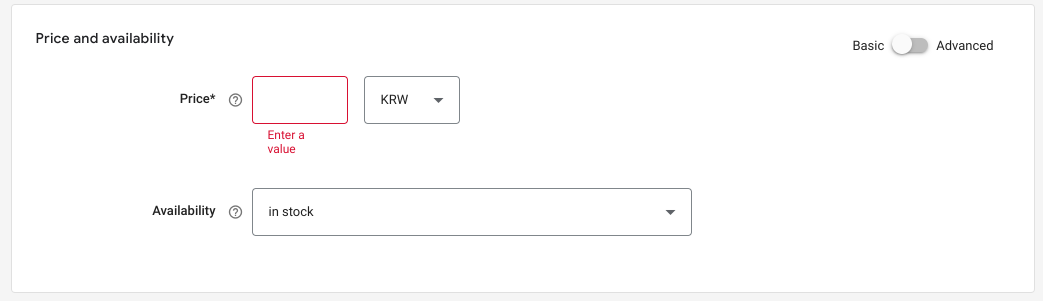
▶ Price and Availability
▶ Detailed Product Desription

▶ Shipping, Tax, and Returns
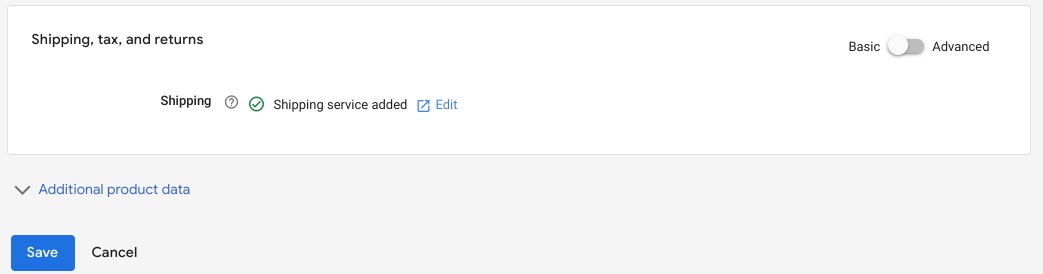
Click 'save' when you are finished
2. Adding Multiple
Select 'add multiple products'
Choose country and language
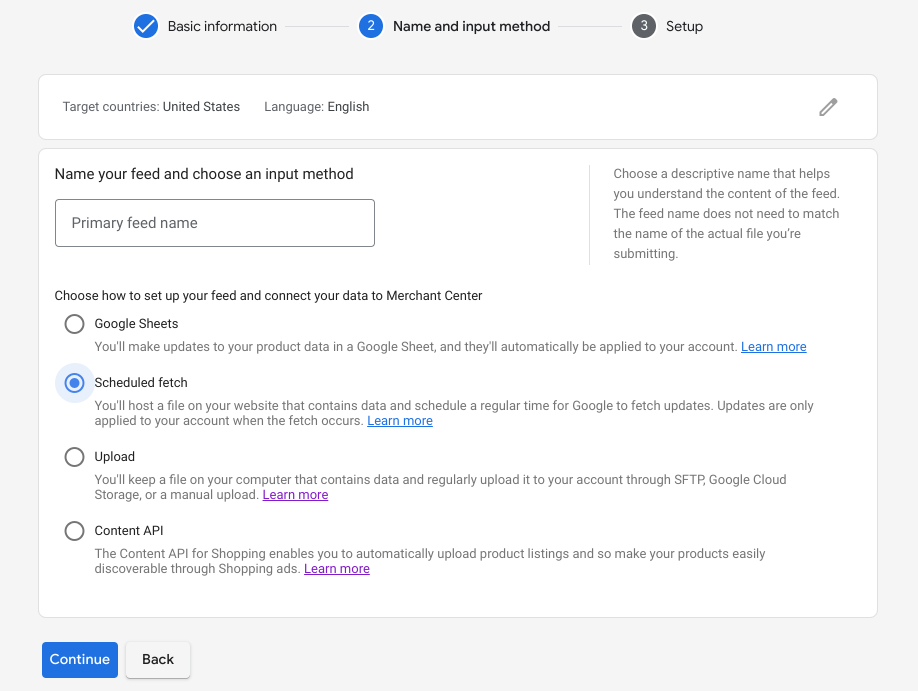
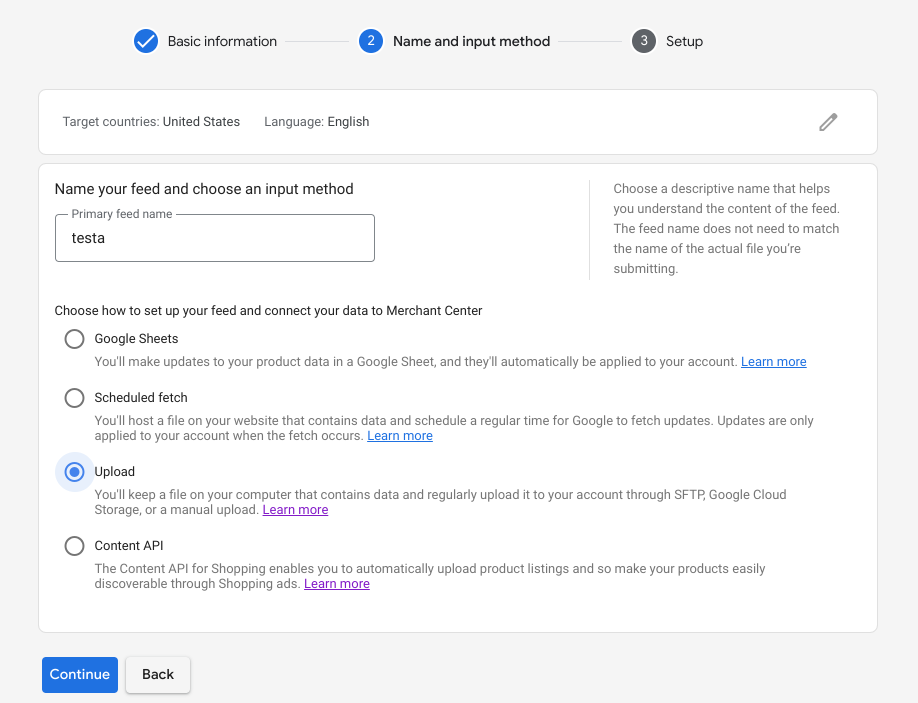
There are four ways to add feeds. Type in the feed name and select a preferable option
1) Google Sheets
Choose 'Google sheets' and click 'continue'

※ You can also set a schedule to automatically fetch the sheet

Click 'Access Google Sheets' to open the sheet

Basic parameters are as follows. It is better to minimize the number of parameters (Necessary parameters are different from country to country) so we will remove some

These are necessary parmeters (Only when ship and currency are set in GMC account)

Let's see how we can populate each parameter using a ecommerce site as an example
▶ id
This is item identifier and you can usually find this in the URL of the item page

▶ title
Represents the name of the item. Just copy the name of the item on the page

▶ description
This is the details of the item
▶ link
Represents the page URL of the item

▶ condition
Three options: New / Refurbished / Used
▶ price
This should include the price and the currency. E.g., 'USD 000.00'

▶ availability
Options: In stock / Out of stock / Preorder / Backorder
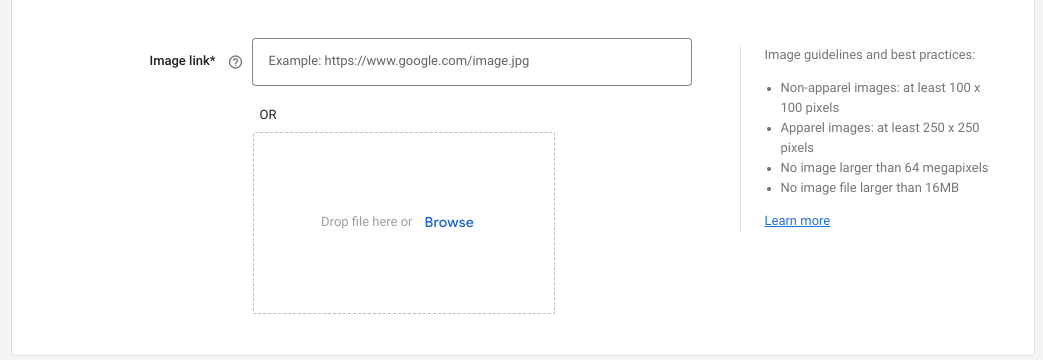
▶ image link
You can get this by right clicking the image you want from the website and selecting 'copy image address'

※ If, for some reason, you cannot right click, open the developer tool and copy the source path (make sure you test this URL by inserting it on a browser and searching)

Example (Items in red are required)
After adding and saving (automatically saved when you click) all the items click 'fetch now'
You can change setting for the feed by going to 'feeds'

2) Scheduled fetch
This option automatically fetches the file on a specified schedule. Select 'scheduled fetch'
Type in file name (For SFTP, FTP, or Google Cloud Storage, the name here should match to that of original file name), and set up frequency, time, tiem zone. Enter the file URL (supported protocols: http, https, ftp, sftp). Type in user name and password if you are using them

3) Upload
This is a manual way of uploading files. Supported formats are: .xml, Google Sheets, .txt (TSV), gz, .zip (compressed TSV, XML), .bz2 (compressed TSV, XML).
Maximum size for a feed is 4GB
For SFTP, FTP, or Google Cloud Storage, the name here should match to that of original file name. If you you were to use 'upload a file now' option you can use any file name

※ Separators can be changed in feed settings
※ .txt example
4) API
Uploading feeds is manual set up, this means whenever there are changes you have to submit an updated verison of your feed. API is automated way of adding feed that reflects any update in real time. Another advantage of this way is that it is possible to update individual feed too.
For this to work, you need to send your feeds to Google API. The size limit of a request is 1MB
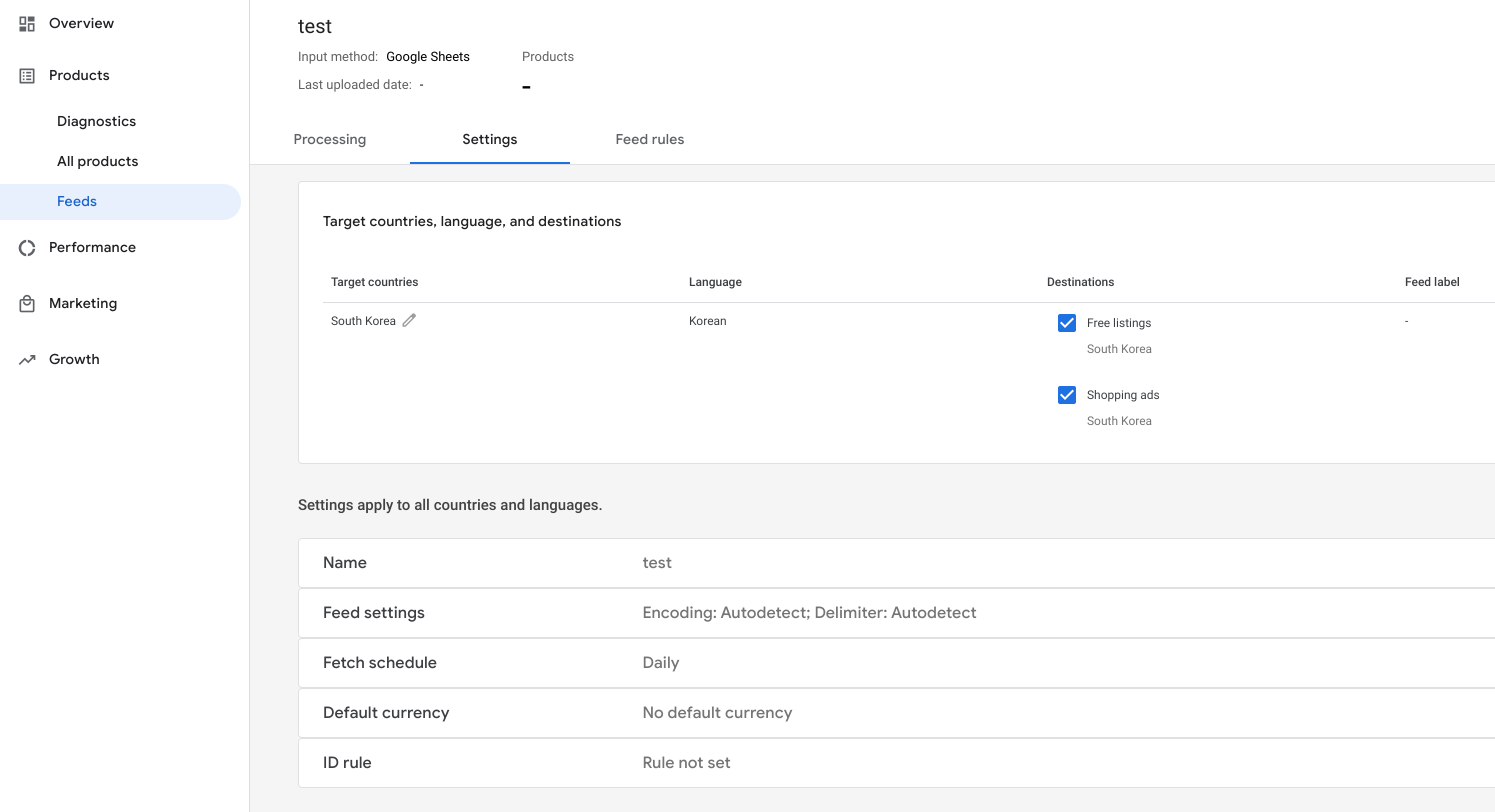
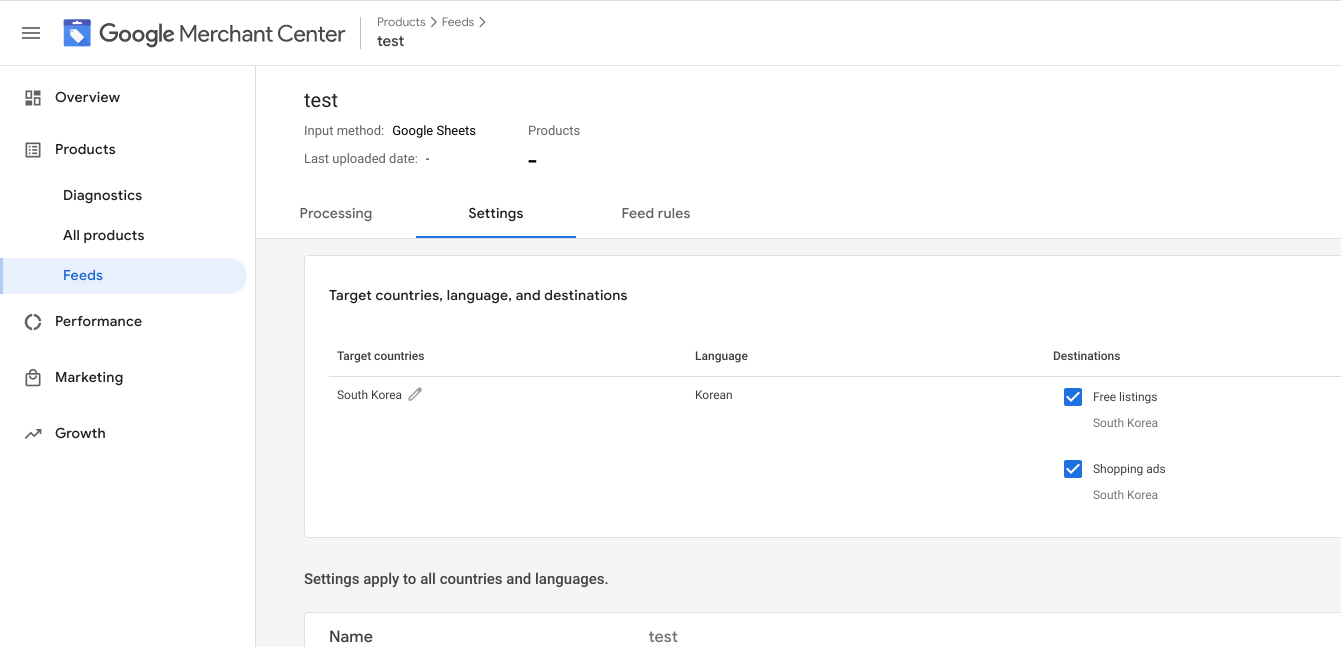
Feed settings, rules
You can change the rules and settings for a feed
Settings
Select 'feeds' and choose the feed
Click 'settings' to change settings
Rules
You can also use rules to change the name of attributes or set a default values for an attribute. This feature is useful when you want to use feeds from other supplier with different set of attribute names
To specify the attribute name, use the following format: feed name followed by the attribute name
myFeed.stockstatusSelect 'feed rule' -> '+'

Choose 'processed attributes' for existing attribute name or 'custom processed attribute' for attribute names that are not included the list of Google feed attributes names

▶ Set to (Linking feeds from other supliers)
Select 'set to' and specify the attribute by manually specifying or choosing from the existing attributes names
myFeed.stockstatus
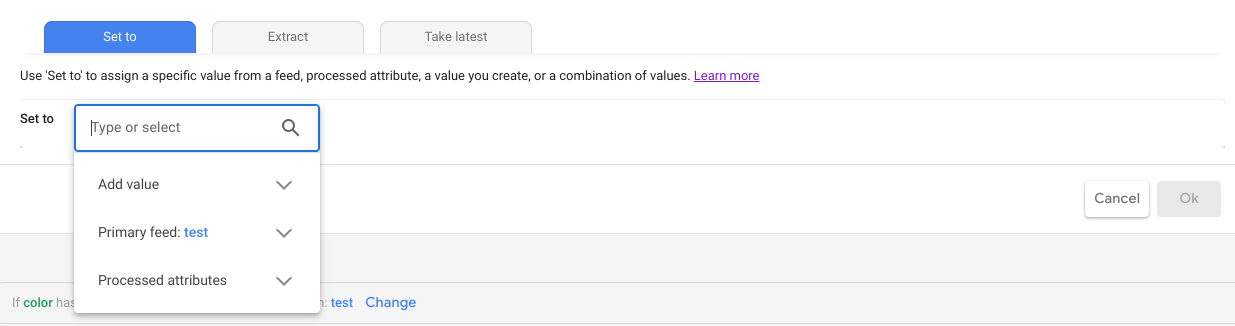
▶ Extract
Uses a certain value that matches the keywords you specified as the value of an attribute you choose
Select 'extract' and specify the attribute by manually specifying or choosing from the existing attributes names
myFeed.stockstatus

Enter the keyword by line by line

※ With advanced options you can add more conditions

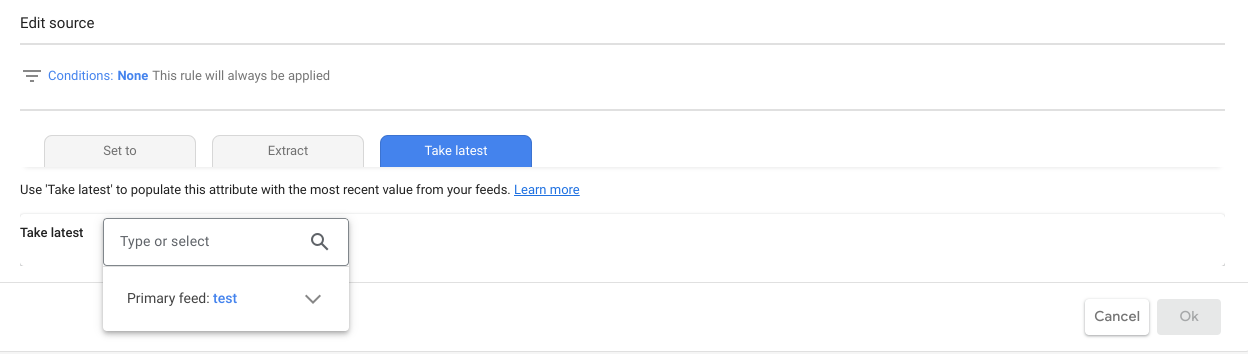
▶ Take latest
For the price and date, when there are many feeds and each feed has a different value for the attributes, we can tell GMC to fetch the latest value
Select 'take latest' and specify the attribute by manually specifying or choosing from the existing attributes names
myFeed.stockstatus
So far, We have seen how to add feeds in Google Merchant Center
References
https://support.google.com/merchants/topic/6324338?hl=ko&ref_topic=7294998
제품 데이터 속성 - Google Merchant Center 고객센터
support.google.com
https://www.youtube.com/watch?v=dq2VlBbqTL4
Feed Rules
https://support.google.com/merchants/answer/7450276?hl=en
Set up feed rules - Google Merchant Center Help
Feed rules give you the ability to transform your data to match our product data specification requirements. Use feed rules to resolve errors and help us interpret the data in your feed. This article explains how to set up feed rules for your product data.
support.google.com
Content API
https://developers.google.com/shopping-content/guides/quickstart
시작하기 | Content API for Shopping | Google Developers
쇼핑 제품 상품을 프로그래매틱 방식으로 관리할 수 있는 API입니다.
developers.google.com
https://support.google.com/merchants/answer/7052112?visit_id=638146082563142810-3247254529&rd=1
*제품 데이터 사양 - Google Merchant Center 고객센터
도움이 되었나요? 어떻게 하면 개선할 수 있을까요? 예아니요
support.google.com
https://developers.google.com/shopping-content/reference/rest/v2.1
Content API for Shopping | Google Developers
Send feedback Content API for Shopping Stay organized with collections Save and categorize content based on your preferences. Manage your product listings and accounts for Google Shopping Service: shoppingcontent.googleapis.com To call this service, we rec
developers.google.com
Scheduled Fetch
https://support.google.com/merchants/answer/1219255?hl=ko
예약된 가져오기를 통해 피드 제출 - Google Merchant Center 고객센터
도움이 되었나요? 어떻게 하면 개선할 수 있을까요? 예아니요
support.google.com
File Upload
제품 데이터의 파일 형식 - Google Merchant Center 고객센터
도움이 되었나요? 어떻게 하면 개선할 수 있을까요? 예아니요
support.google.com
Upload a feed - Google Merchant Center Help
Before you begin To minimize delays, ensure that your product data conforms to the products feed specifications and the feature. policies, including Shopping ads policies and policies for listing your products for free on Google. If you're not sure about t
support.google.com
로봇.txt
https://support.google.com/merchants/answer/6098185?hl=en
How to fix: Desktop page not crawlable due to robots.txt - Google Merchant Center Help
Update your robots.txt file to allow user-agents "Googlebot" and "Googlebot-Image" to crawl your site Some of your products specify a landing page (via the link [link] attribute) that cannot be crawled by Google because robots.txt forbids Google's crawler
support.google.com
https://support.google.com/webmasters/answer/9012289
URL 검사 도구 - Search Console 고객센터
도움이 되었나요? 어떻게 하면 개선할 수 있을까요? 예아니요
support.google.com
https://developers.google.com/search/docs/crawling-indexing/robots/intro
robots.txt 소개 및 가이드 | Google 검색 센터 | 문서 | Google Developers
robots.txt는 크롤러 트래픽을 관리하는 데 사용됩니다. robots.txt 소개 가이드에서 robots.txt 파일의 정의와 사용 방법을 알아보세요.
developers.google.com
https://search.google.com/test/rich-results
리치 검색결과 테스트 - Google Search Console
페이지에서 리치 검색결과를 지원하나요? 올바른 URL이 아닙니다.테스트에 사용할 에이전트Googlebot 스마트폰Googlebot 데스크톱테스트에 사용할 에이전트Googlebot 스마트폰Googlebot 데스크
search.google.com
'Marketing and SEO > Google Merchant Center' 카테고리의 다른 글
| Google Merchant Center - Godomall (Feed Set UP) (0) | 2023.03.29 |
|---|---|
| Google Merchant Center - Cafe 24 (Feed link) (1) | 2023.03.29 |

